> ## Documentation Index
> Fetch the complete documentation index at: https://docs.autosend.com/llms.txt
> Use this file to discover all available pages before exploring further.
# Campaigns
> Create and send one-time or scheduled marketing emails to your contacts, lists, or segments.
export const IMAGES = {
logo: `${`https://dqy38fnwh4fqs.cloudfront.net/`}autosend/docs/autosend-docs-logo.png`,
emailActivityHome: `${`https://dqy38fnwh4fqs.cloudfront.net/`}autosend/docs/email-activity-home.png`,
emailActivityClicks: `${`https://dqy38fnwh4fqs.cloudfront.net/`}autosend/docs/email-activity-clicks.png`,
emailTemplate: {
testData: `${`https://dqy38fnwh4fqs.cloudfront.net/`}autosend/docs/test-data.png`,
emailPreview: `${`https://dqy38fnwh4fqs.cloudfront.net/`}autosend/docs/email-preview.png`,
creatingEmailTemplate: `${`https://dqy38fnwh4fqs.cloudfront.net/`}autosend/docs/create-email-template.png`,
sendingTestEmail: `${`https://dqy38fnwh4fqs.cloudfront.net/`}autosend/docs/send-test-email.png`
},
addSender: `${`https://dqy38fnwh4fqs.cloudfront.net/`}autosend/docs/add-sender.png`,
createList: `${`https://dqy38fnwh4fqs.cloudfront.net/`}autosend/docs/create-list.png`,
createSegment: `${`https://dqy38fnwh4fqs.cloudfront.net/`}autosend/docs/create-segment.png`,
contacts: `${`https://dqy38fnwh4fqs.cloudfront.net/`}autosend/docs/contacts.png`,
allContacts: `${`https://dqy38fnwh4fqs.cloudfront.net/`}autosend/docs/all-contacts.png`,
contactDetails: `${`https://dqy38fnwh4fqs.cloudfront.net/`}autosend/docs/contact-details.png`,
csvContactDetails: `${`https://dqy38fnwh4fqs.cloudfront.net/`}autosend/docs/csv-contact-details.png`,
importCsv: `${`https://dqy38fnwh4fqs.cloudfront.net/`}autosend/docs/import-csv.png`,
importSuccess: `${`https://dqy38fnwh4fqs.cloudfront.net/`}autosend/docs/import-successful.png`,
mapFields: `${`https://dqy38fnwh4fqs.cloudfront.net/`}autosend/docs/map-fields.png`,
listContactDetails: `${`https://dqy38fnwh4fqs.cloudfront.net/`}autosend/docs/list-contact-details.png`,
createList: `${`https://dqy38fnwh4fqs.cloudfront.net/`}autosend/docs/create-list.png`,
listDetails: `${`https://dqy38fnwh4fqs.cloudfront.net/`}autosend/docs/list-details.png`,
contactSegment: `${`https://dqy38fnwh4fqs.cloudfront.net/`}autosend/docs/contact-segment.png`,
createSegment: `${`https://dqy38fnwh4fqs.cloudfront.net/`}autosend/docs/create-segment.png`,
customFieldDetails: `${`https://dqy38fnwh4fqs.cloudfront.net/`}autosend/docs/custom-field-details.png`,
newCustomField: `${`https://dqy38fnwh4fqs.cloudfront.net/`}autosend/docs/new-custom-field.png`,
campaignsList: `${`https://dqy38fnwh4fqs.cloudfront.net/`}autosend/docs/campaigns-list.png`,
campaignsEmpty: `${`https://dqy38fnwh4fqs.cloudfront.net/`}autosend/docs/campaigns-empty.png`,
designCampaign: `${`https://dqy38fnwh4fqs.cloudfront.net/`}autosend/docs/design-campaign.png`,
campaignDetails: `${`https://dqy38fnwh4fqs.cloudfront.net/`}autosend/docs/campaign-details.png`,
reviewCampaign: `${`https://dqy38fnwh4fqs.cloudfront.net/`}autosend/docs/review-campaign.png`,
campaignSuccess: `${`https://dqy38fnwh4fqs.cloudfront.net/`}autosend/docs/campaign-success.png`,
testCampaign: `${`https://dqy38fnwh4fqs.cloudfront.net/`}autosend/docs/test-campaign.png`,
sendTestCampaign: `${`https://dqy38fnwh4fqs.cloudfront.net/`}autosend/docs/send-test-campaign.png`
};
## What are Campaigns in AutoSend?
Campaigns in **AutoSend** are one-time or scheduled marketing emails that you send to your contacts, lists, or segments. These are typically newsletters, announcements, or promotional emails designed to engage your audience.
 ## Creating a Campaign in AutoSend
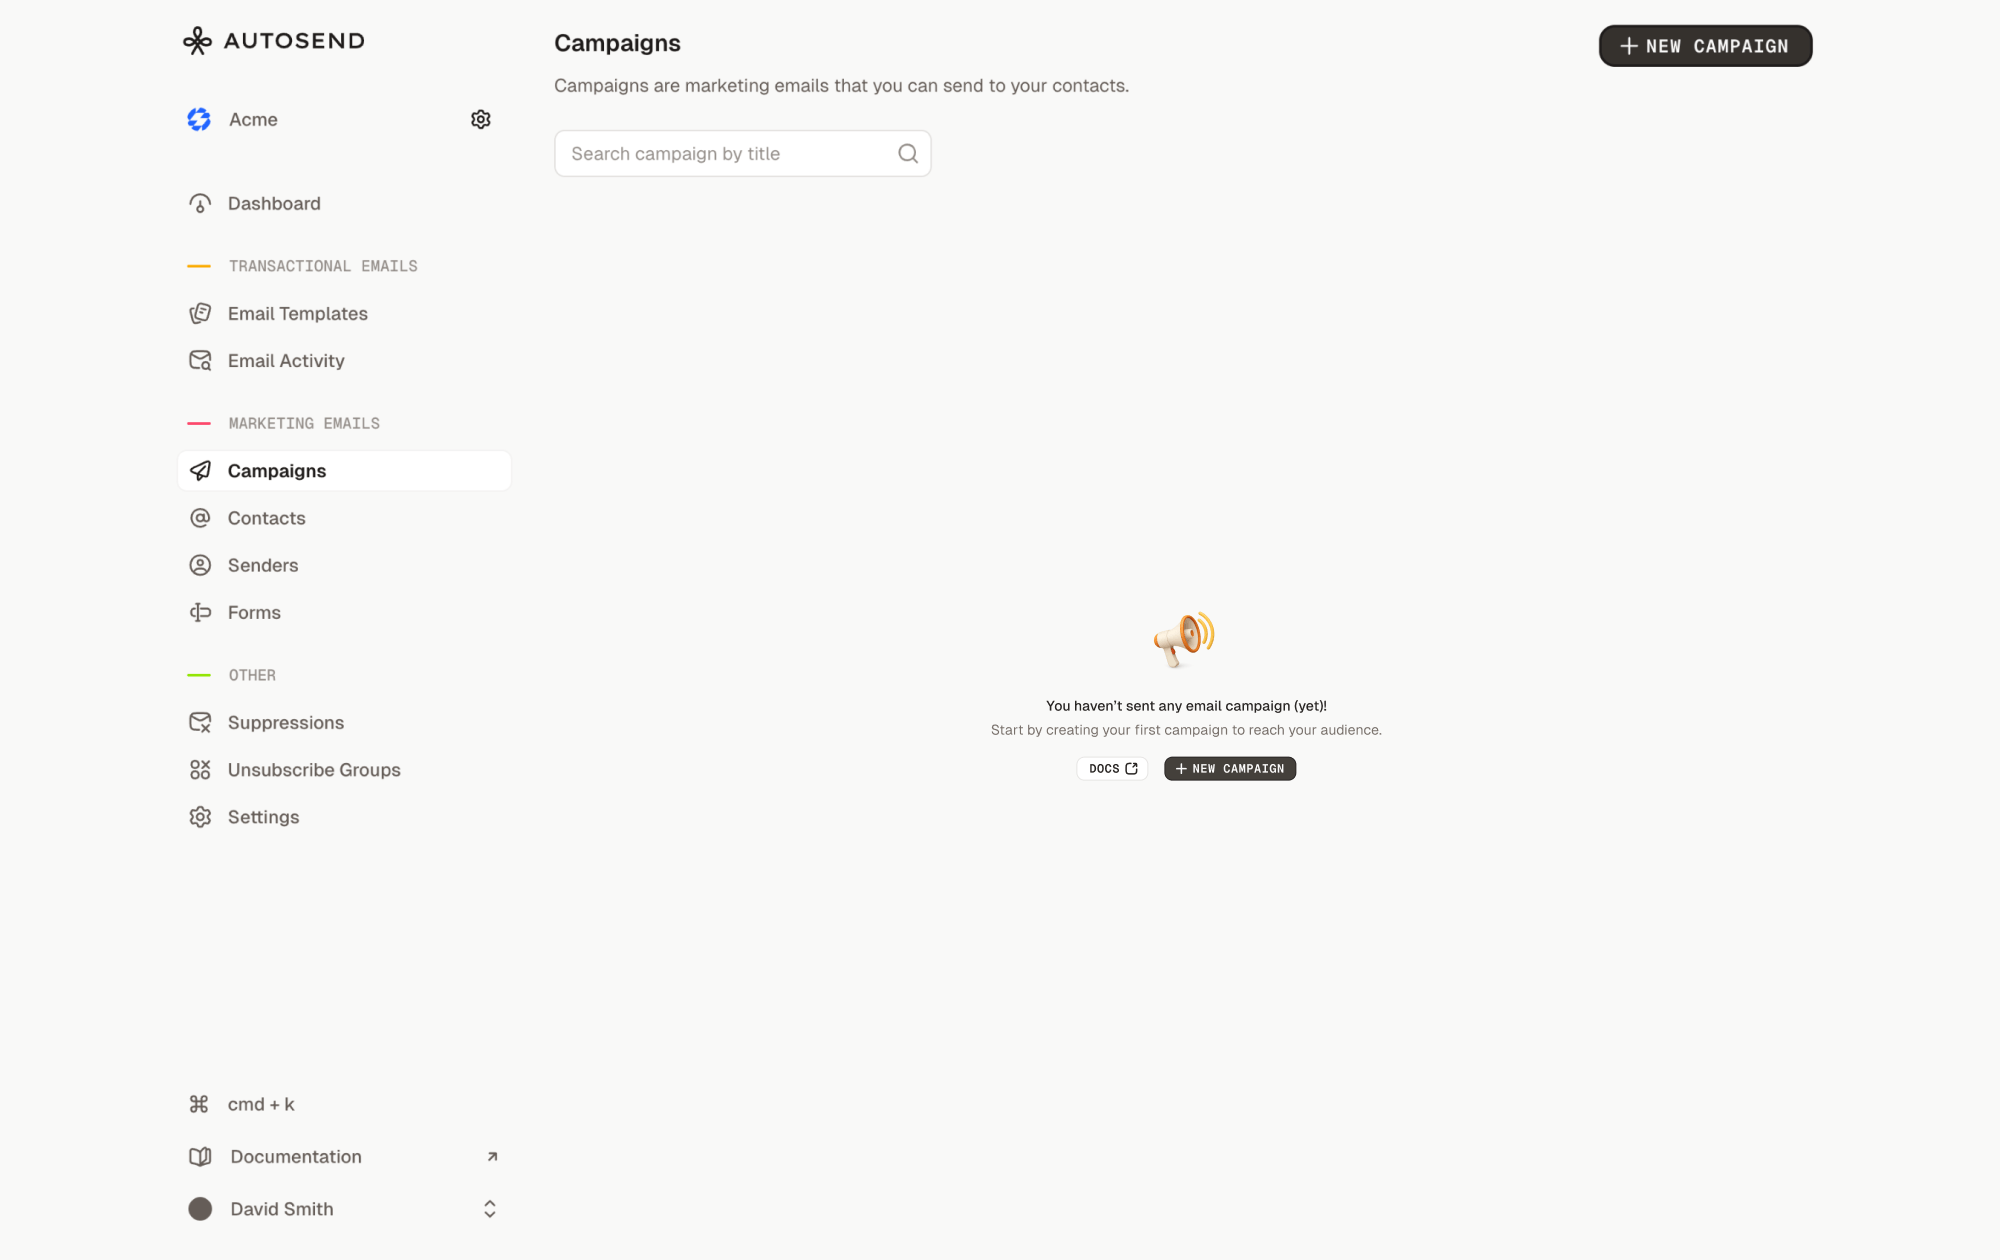
 Create your email using HTML with inline CSS for styling. AutoSend's email designer supports responsive design, so make sure to write HTML that renders well across different email clients and devices.
* Write responsive HTML with inline CSS for maximum compatibility.
* Use variables anywhere in the HTML to personalize content dynamically, for example: `{{first_name}}`, `{{company_name}}`, `{{email}}`, etc.
* Variables are wrapped in double curly braces and will be replaced with actual values when the email is sent.
* Keep your HTML clean and well-structured to ensure consistent rendering across email clients.
* Test your template thoroughly in both desktop and mobile views before deployment.
**Preview and Devices**
The **Email Preview** on the right reflects changes from the composer in real time. Switch between **Desktop** and **Mobile** via the device icons to confirm responsive behavior and visual consistency. Links are disabled in preview to avoid accidental navigation.
After designing your email, fill in the campaign details. The mandatory fields are marked with a red asterisk (\*).
Create your email using HTML with inline CSS for styling. AutoSend's email designer supports responsive design, so make sure to write HTML that renders well across different email clients and devices.
* Write responsive HTML with inline CSS for maximum compatibility.
* Use variables anywhere in the HTML to personalize content dynamically, for example: `{{first_name}}`, `{{company_name}}`, `{{email}}`, etc.
* Variables are wrapped in double curly braces and will be replaced with actual values when the email is sent.
* Keep your HTML clean and well-structured to ensure consistent rendering across email clients.
* Test your template thoroughly in both desktop and mobile views before deployment.
**Preview and Devices**
The **Email Preview** on the right reflects changes from the composer in real time. Switch between **Desktop** and **Mobile** via the device icons to confirm responsive behavior and visual consistency. Links are disabled in preview to avoid accidental navigation.
After designing your email, fill in the campaign details. The mandatory fields are marked with a red asterisk (\*).
 | **Field** | **Mandatory** | **Description** |
| -------------------- | ------------- | ------------------------------------------------------------------------------------------------------------------------------------------------ |
| Subject \* | Yes | The subject line of your email. This is what your recipients will see in their inbox. |
| Preview Text | No | The short snippet that appears next to the subject line. (If left blank, AutoSend will automatically display the first few lines of your email.) |
| From Sender \* | Yes | The sender name and email address your recipients will see. |
| Reply To | No | The email address where replies will be sent. |
| To \* | Yes | Select who will receive the campaign — this can be All Contacts, a specific List, or a Segment. |
| Exclude | No | Select lists or segments you'd like to exclude from receiving this campaign. |
| Unsubscribe Group \* | Yes | Choose the group contacts will be added to when they unsubscribe from this campaign. |
Once the campaign details are filled, select when you want to send the campaign.
* Click **Send Now** to send the campaign immediately.
* Or, **Schedule** for later to pick a specific date and time.
Review all the details of your campaign. Make sure everything is accurate.
| **Field** | **Mandatory** | **Description** |
| -------------------- | ------------- | ------------------------------------------------------------------------------------------------------------------------------------------------ |
| Subject \* | Yes | The subject line of your email. This is what your recipients will see in their inbox. |
| Preview Text | No | The short snippet that appears next to the subject line. (If left blank, AutoSend will automatically display the first few lines of your email.) |
| From Sender \* | Yes | The sender name and email address your recipients will see. |
| Reply To | No | The email address where replies will be sent. |
| To \* | Yes | Select who will receive the campaign — this can be All Contacts, a specific List, or a Segment. |
| Exclude | No | Select lists or segments you'd like to exclude from receiving this campaign. |
| Unsubscribe Group \* | Yes | Choose the group contacts will be added to when they unsubscribe from this campaign. |
Once the campaign details are filled, select when you want to send the campaign.
* Click **Send Now** to send the campaign immediately.
* Or, **Schedule** for later to pick a specific date and time.
Review all the details of your campaign. Make sure everything is accurate.
 Once reviewed, Click on **Send Now** or **Schedule Campaign** to send or schedule for later respectively.
Your campaign will be made live accordingly.
Once reviewed, Click on **Send Now** or **Schedule Campaign** to send or schedule for later respectively.
Your campaign will be made live accordingly.
 ## Testing your Campaign
You can send a test email to check how your campaign appears across devices.
## Testing your Campaign
You can send a test email to check how your campaign appears across devices.
 In the modal, add up to 10 comma separated emails and click **Send Test.**
