Overview
AutoSend uses API Key authentication with Bearer tokens. Every API request must include your API key in theAuthorization header. AutoSend has two types of API keys, each with different scope and purpose.
Key Types
- Project API Key (
AS_...): Scoped to a single project. Use this for sending emails, managing contacts, templates, campaigns, and all day-to-day operations. This is the right choice for most integrations. - Account API Key (
ASA_...): Cross-project scope. Use this when you need to programmatically create, update, or delete projects - for example, when building a multi-tenant platform. All requests made with an Account API Key require anx-project-idheader to specify the target project, except when creating a new project.
Creating an API Key
Navigate to API Keys
Go to Account > API Keys from the sidebar. Click the “Generate Key” button.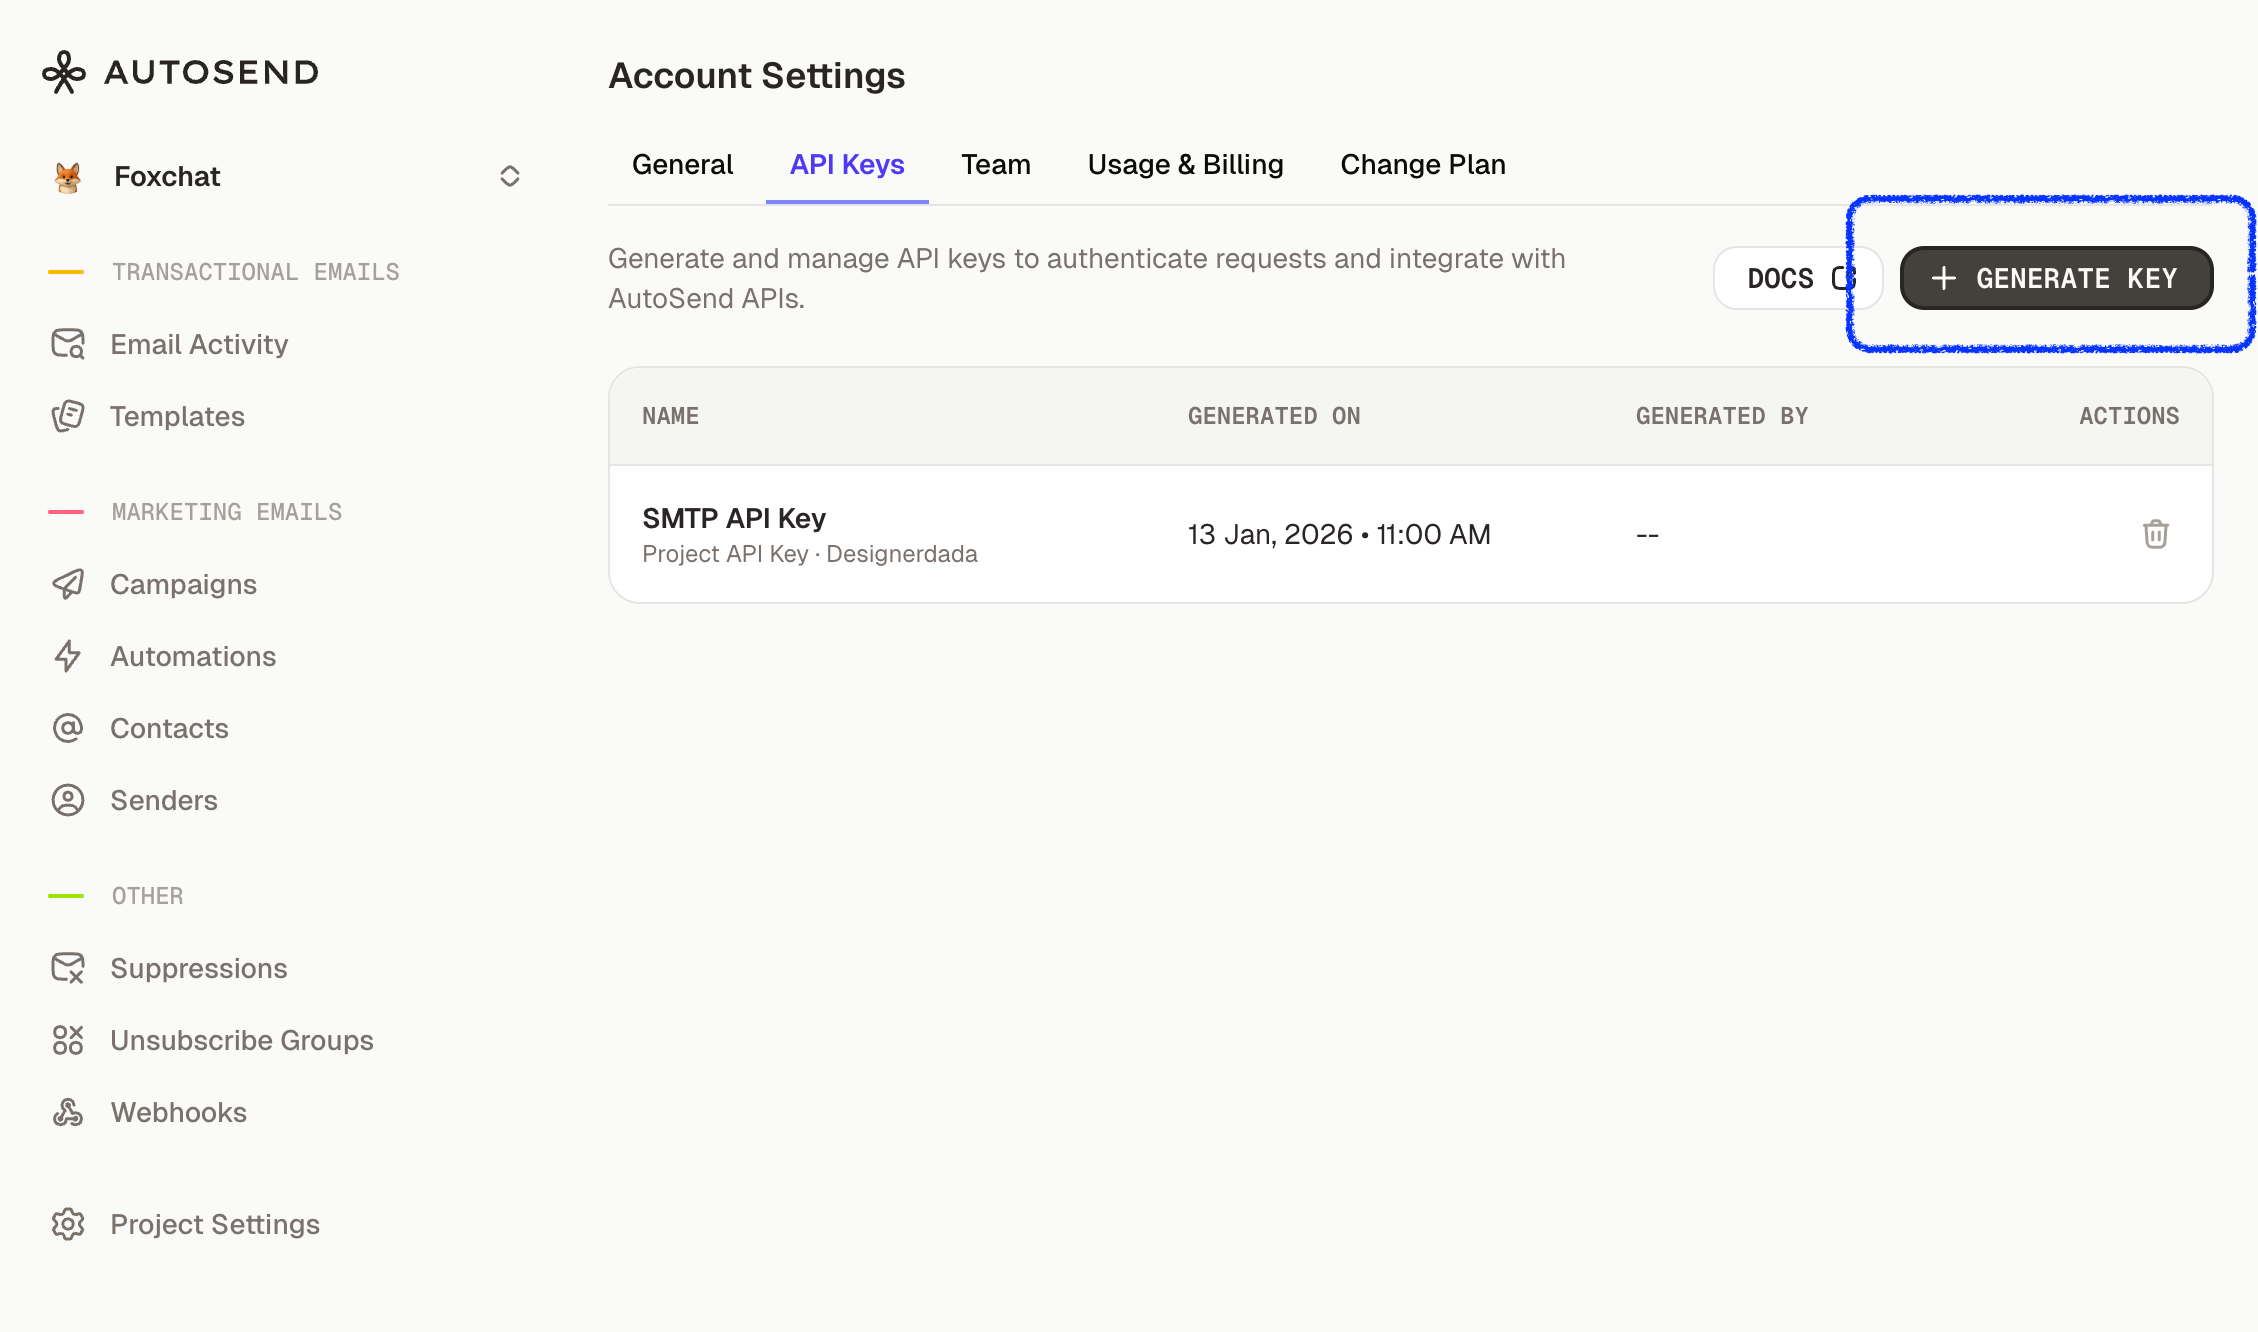
Generate a New API Key
A modal will open where you: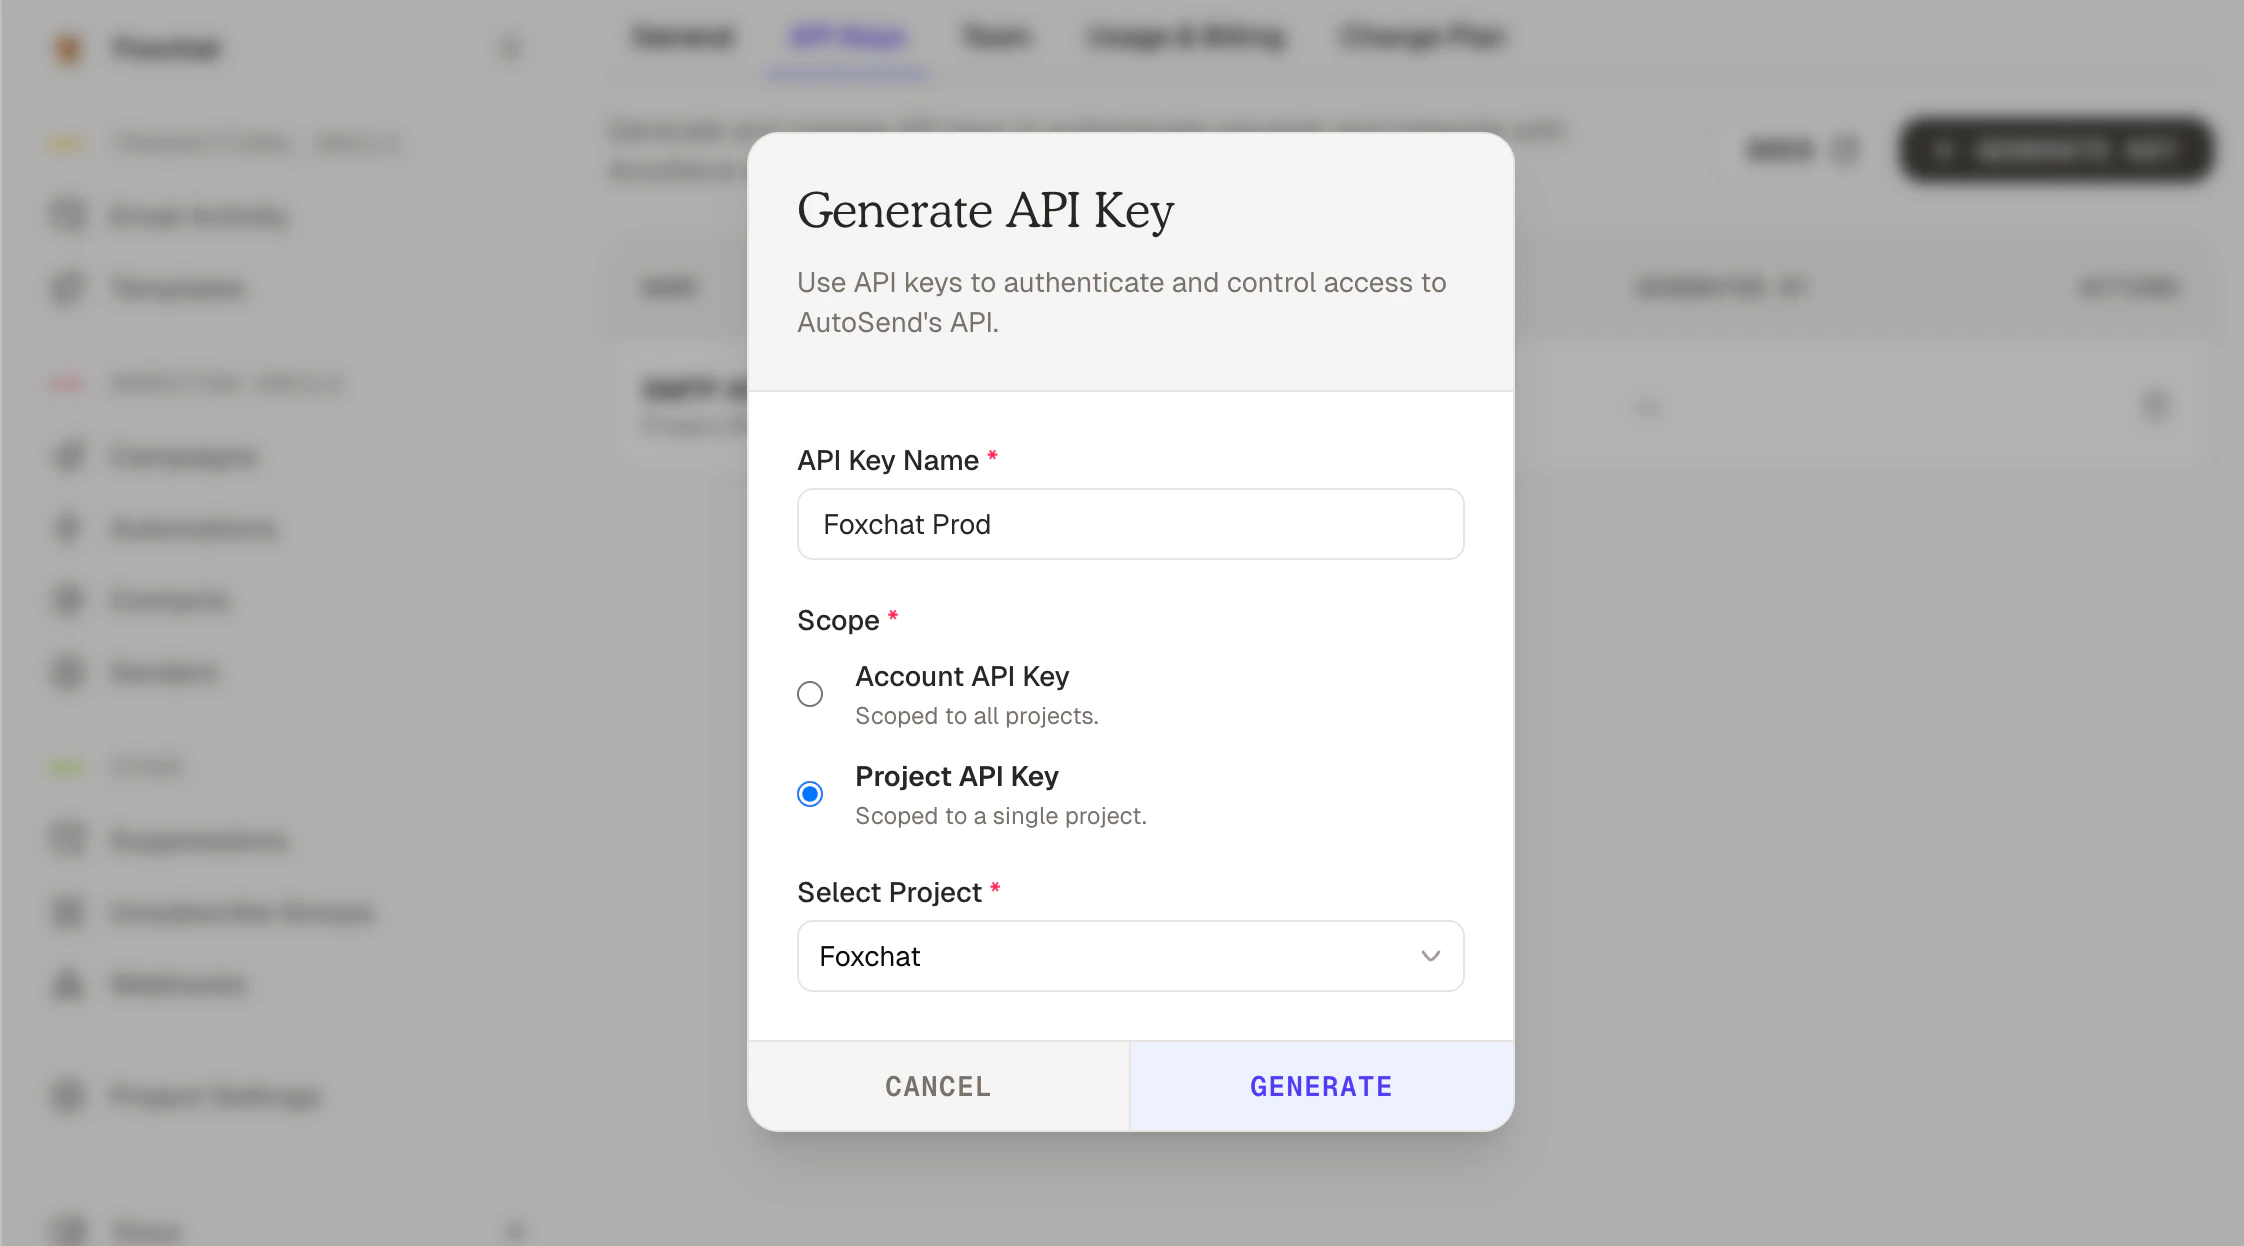
- Enter a descriptive name (e.g.
Production,Staging,Multi-tenant Service) - Select the key type: Account API Key or Project API Key
- If you selected Project API Key: choose which project this key belongs to
Save Your API Key Secret
After generation, your API Key Secret is shown once:
For security reasons, the API key secret is only shown once during creation. You will NOT be able to view it again.
- Copy the key immediately to your clipboard
- Store it securely in a password manager or secrets vault
- Download the .txt file as a backup
- Never commit API keys to version control
- Never share your API key publicly or in client-side code
API Key Formats
AutoSend API keys follow these formats depending on the type:ASA: Prefix for Account-scoped keysAS: Prefix for Project-scoped keyssecret_string: Cryptographically secure alphanumeric characters
Making Authenticated Requests
Include your API key in theAuthorization header of every request.
Project API Key
Account API Key
Account API Keys require an additionalx-project-id header on all requests, so AutoSend knows which project to operate on.
The
x-project-id header is not required when creating a new project, since no project exists
yet to target.Choosing the Right API Key
- Use a Project API Key for everyday operations: sending emails, managing contacts, templates, campaigns, and webhooks within a specific project. This is the right key for most integrations.
- Use an Account API Key only when managing projects themselves - for example, when building a multi-tenant platform that automatically provisions new projects for each of your customers.
Managing API Keys
Viewing API Keys
In your dashboard under Account > API Keys, you can see:- API Key Name: the label you assigned
- Type: Account or Project
- Project: the associated project (Project API Keys only)
- Generated On: creation date
Deleting API Keys
To delete an API key:- Go to Account > API Keys
- Find the key you want to delete
- Click the trash icon
- Confirm the deletion
Best Practices for API Key Management
-
Use Environment Variables
Never hardcode API keys in your source code.
-
Separate Keys for Different Environments
- Create separate Project API Keys for development, staging, and production
- Use descriptive names:
Production,Staging,Development - This allows you to rotate keys without affecting other environments
-
Rotate Keys Regularly
- Generate new keys periodically (every 90 days recommended)
- Update your applications with the new key
- Delete the old key after confirming the new one works
-
Limit Key Exposure
- Never commit keys to version control
- Don’t include keys in client-side JavaScript
- Use secrets management services (AWS Secrets Manager, HashiCorp Vault, etc.)
-
Add API keys to
.gitignore:
Authentication Errors
401 Unauthorized
401 Unauthorized
403 Forbidden
403 Forbidden
Error Response:Common Causes:
- API key doesn’t have access to the requested resource
- Using a Project API Key to access a different project’s resources
- Missing
x-project-idheader when using an Account API Key
- Verify you’re using the correct API key for the project
- If using an Account API Key, ensure the
x-project-idheader is present and correct - Check that the resource (domain, template, etc.) exists in the target project
Keep Your API Keys Secret
API keys provide full access to your AutoSend account and should be treated like passwords:- Never share API keys in public forums, support tickets, or chat
- Don’t include keys in screenshots or screen recordings
- Revoke keys immediately if exposed
HTTPS OnlyAlways use HTTPS when making API requests. AutoSend APIs reject non-HTTPS requests to protect your API keys from interception.
Rate Limiting
API keys are subject to rate limits:- 2 requests per second per API key
- 50 requests per minute per API key
Exceeding these limits returns a
429 Too Many Requests error. See the API
Reference for more details.