
If SMTP doesn’t work for your Auth0 tenant, you can call the AutoSend API directly from a Custom Email Provider Action instead. See Send emails from Auth0 with a Custom Email Provider Action.
Prerequisites
Verified Domain
Make sure you have a verified domain added in AutoSend to send emails from.
SMTP Key
Create a project-specific SMTP key from the SMTP tab in Project Settings.
Configuration
Navigate to Email Provider Settings
- Log in to your Auth0 Dashboard
- Go to Branding in the sidebar
- Click on Email Provider

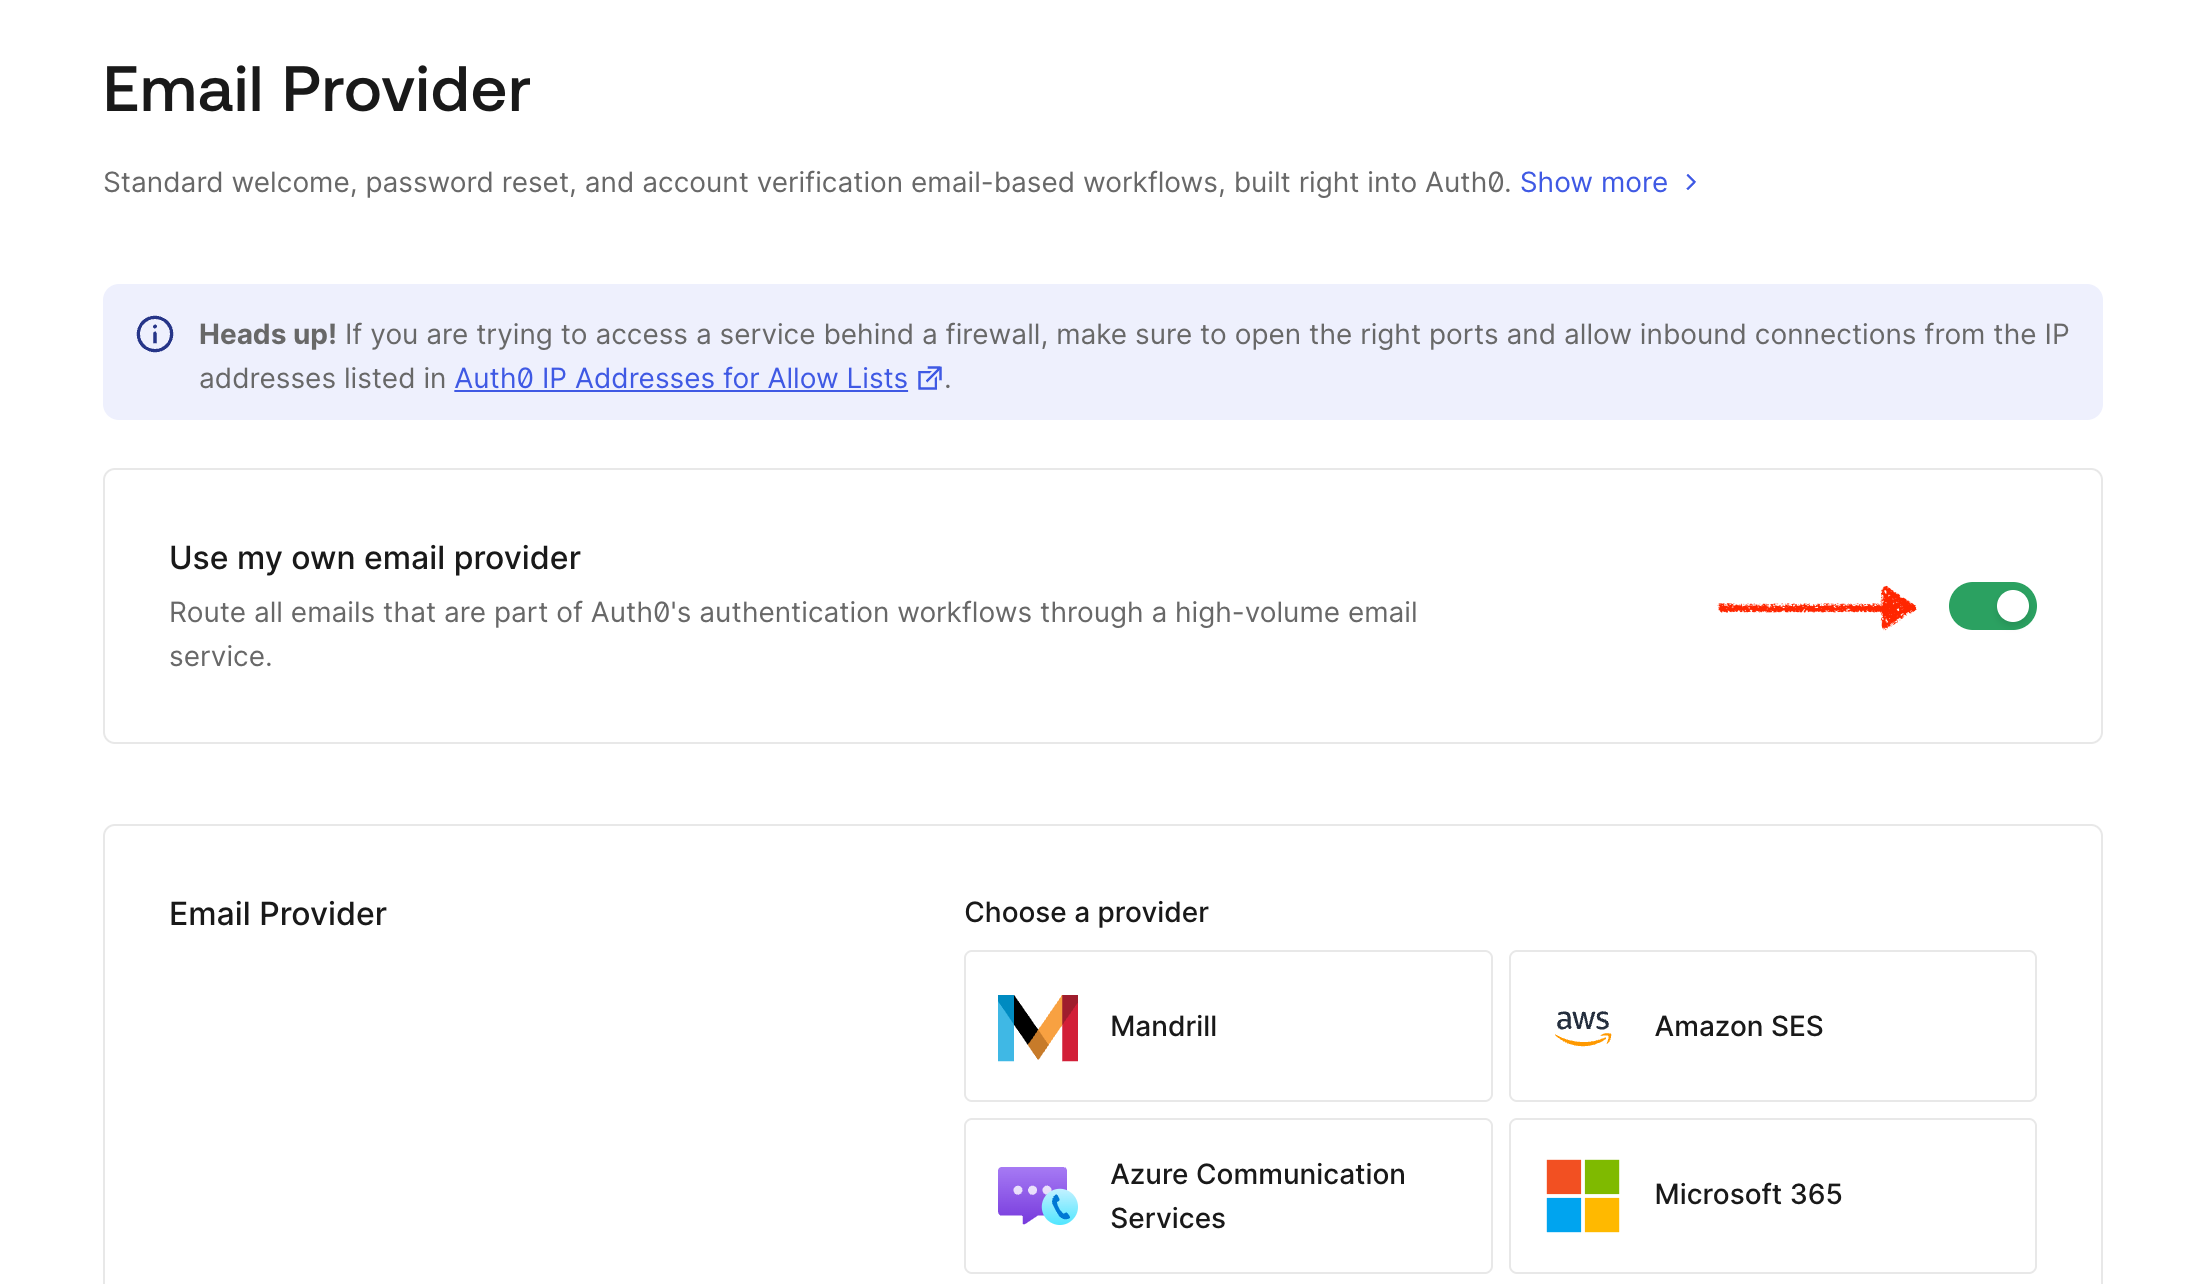
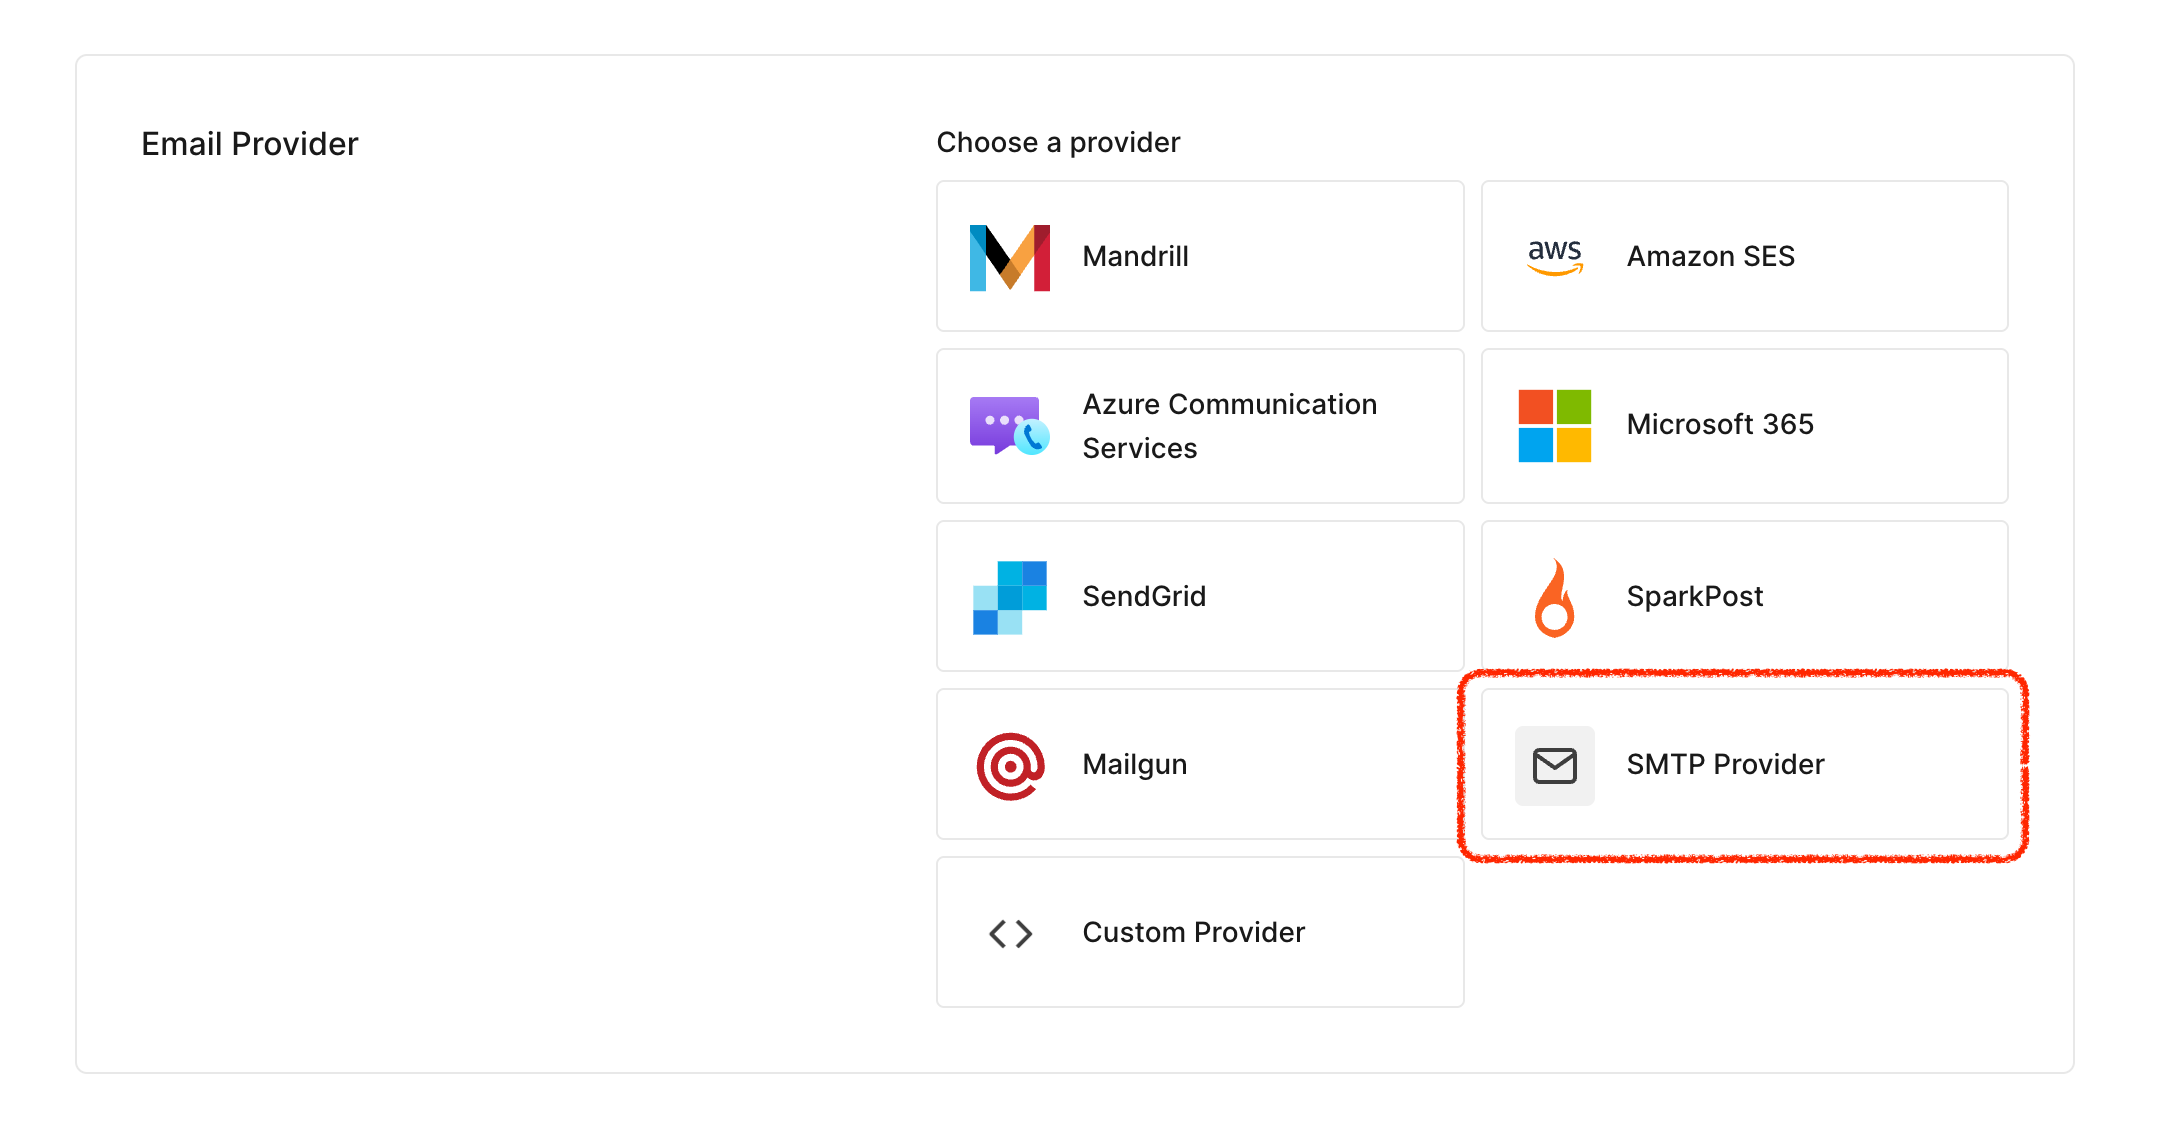
Enter SMTP Credentials
Fill in the following settings: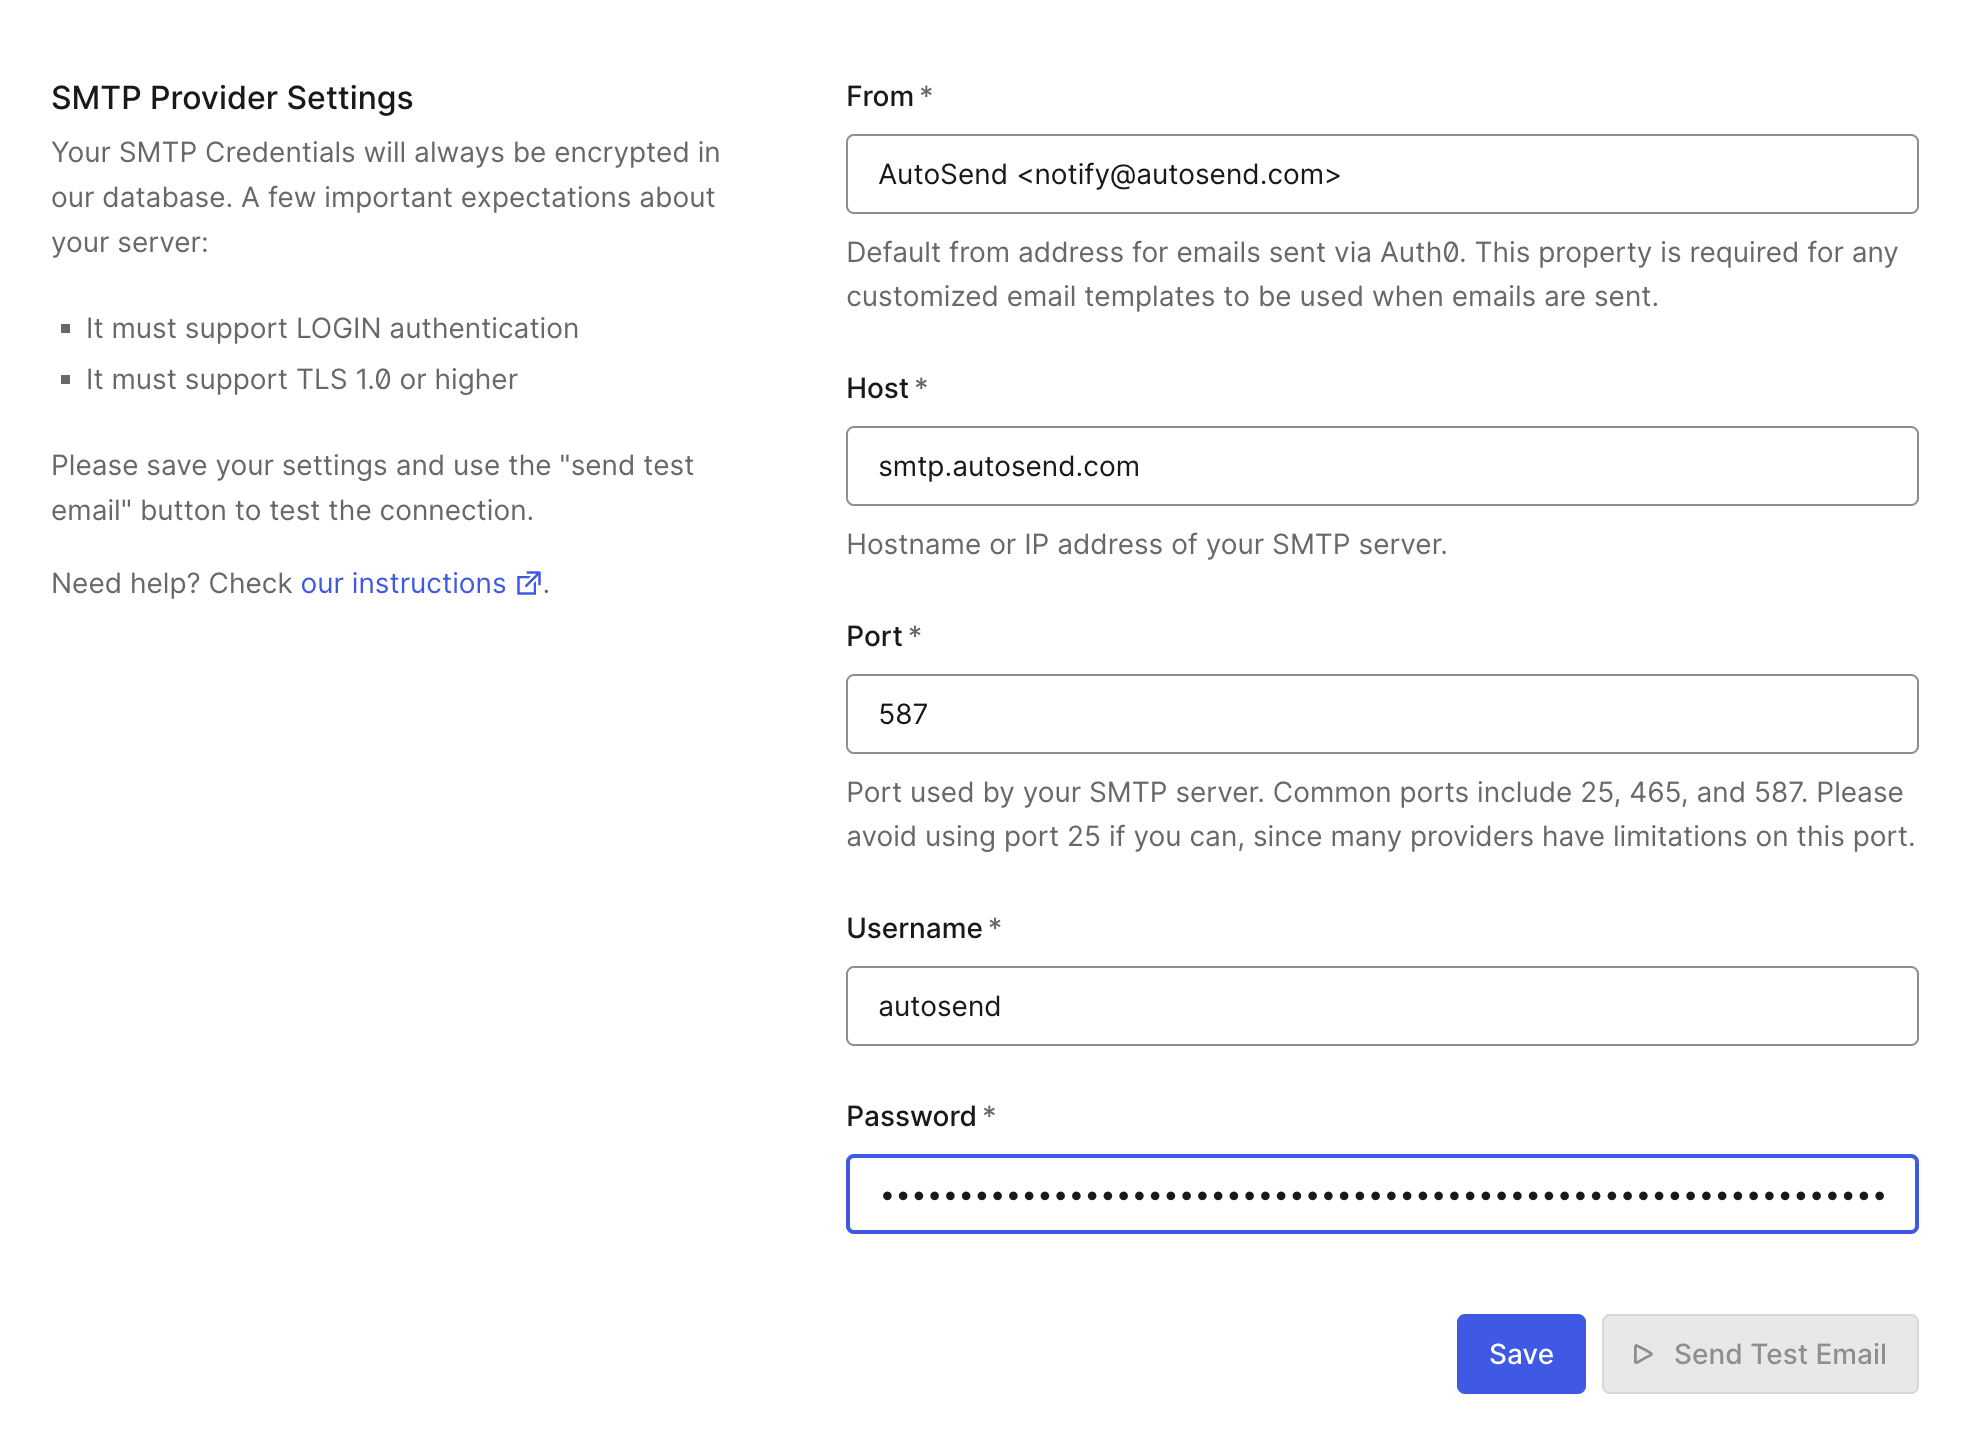
The SMTP password is no longer your API key. Create a project-specific SMTP key from the SMTP tab in Project Settings.
Send a Test Email
After saving, click the Send Test button next to the Save button to send a test email and verify your configuration is working.You can also check the Email Activity dashboard to verify the email was sent through AutoSend.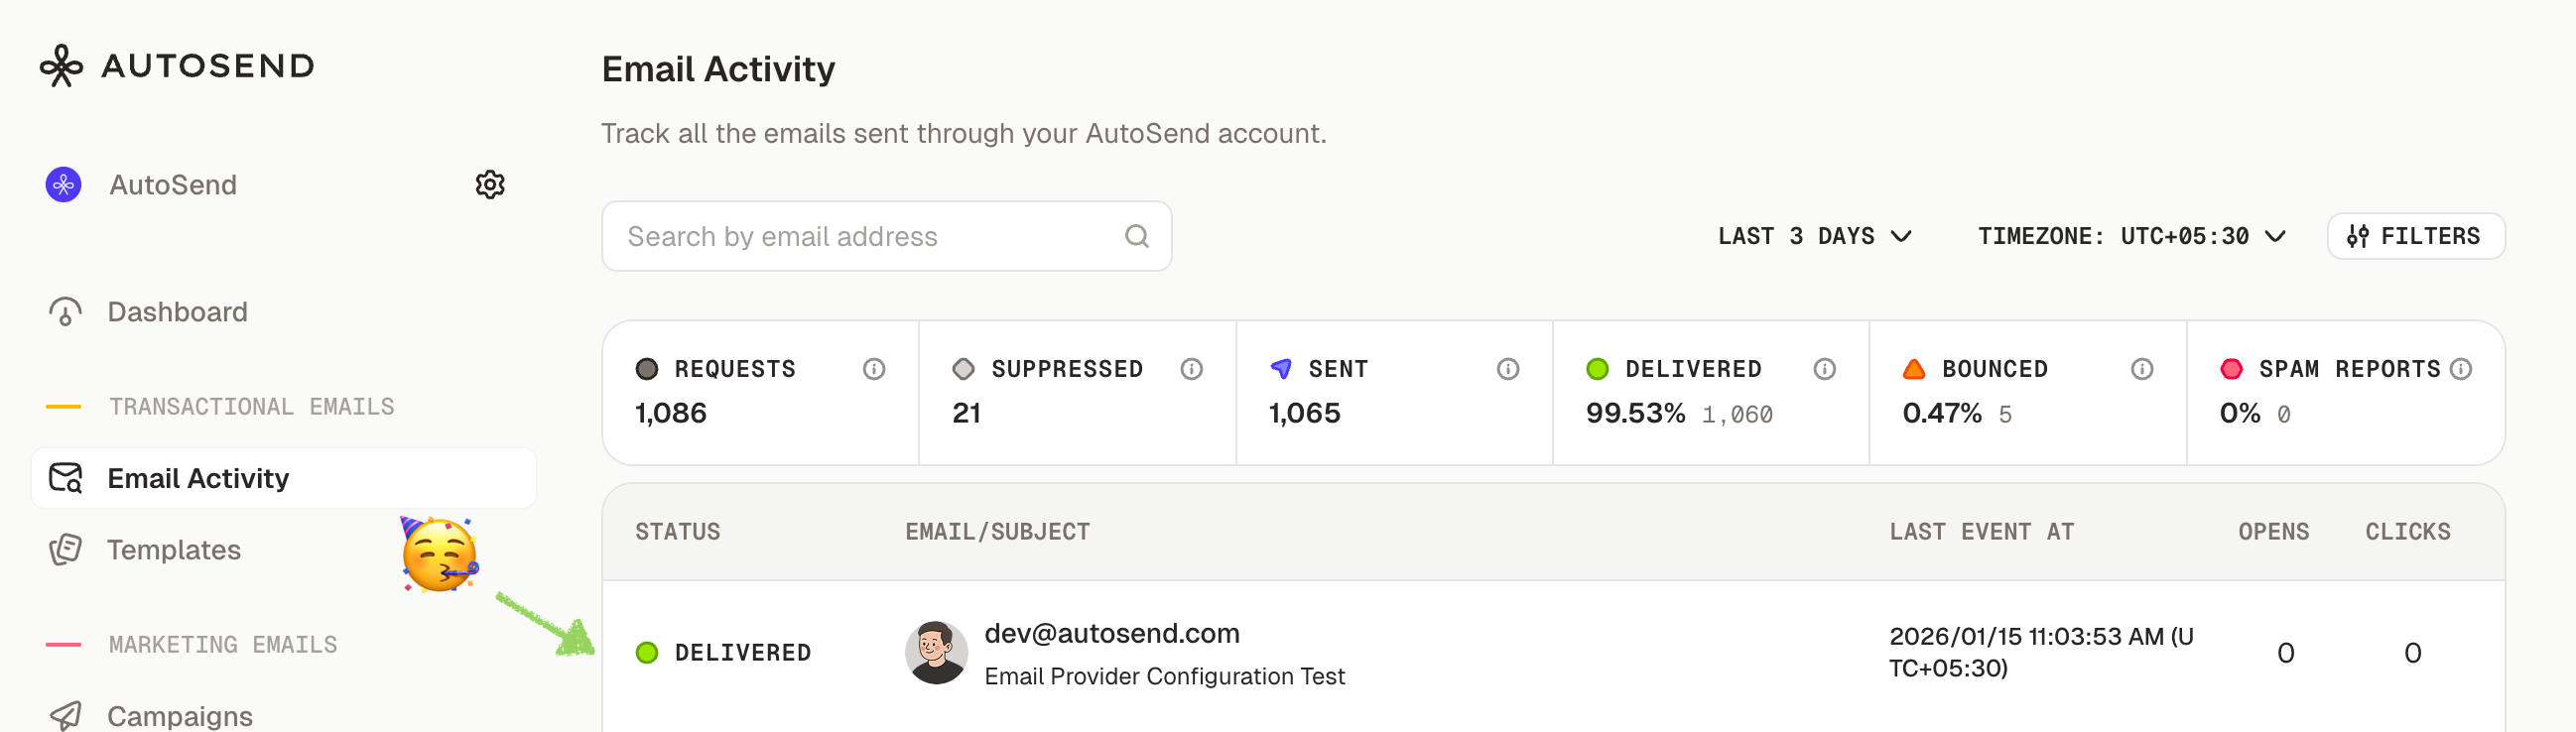
Email Templates
Auth0 allows you to customize email templates for different authentication scenarios. Navigate to Branding → Email Templates to modify:- Verification Email - Sent when users need to verify their email address
- Welcome Email - Sent after successful signup
- Change Password - Sent for password reset requests
- Blocked Account - Sent when an account is blocked
- Passwordless Email - Sent for passwordless authentication (magic links/codes)
Auth0 email templates use Liquid syntax for dynamic content. Variables like
{{ user.email }} and {{ url }} are replaced with actual values when the email is sent.Troubleshooting
Emails not being sent
Emails not being sent
- Verify your SMTP credentials are correct - Check that your sender email domain is verified in AutoSend - Ensure the From address matches a verified domain - Check Auth0 logs for SMTP connection errors (Monitoring → Logs)
Authentication failed
Authentication failed
- Double-check your SMTP key is correct - Ensure you’re using
autosendas the username - Verify your SMTP key is active in the SMTP Settings
Connection errors
Connection errors
- Verify the hostname is
smtp.autosend.com- Try using port465with implicit TLS if port587fails - Check if your network blocks outbound SMTP connections
Emails going to spam
Emails going to spam
- Ensure your domain has proper DNS records (SPF, DKIM, DMARC) - Use a professional sender name, not just “noreply” - Check your domain reputation in AutoSend
SMTP still won't work?
SMTP still won't work?
If SMTP fails after exhausting the steps above, switch to the API-based approach using Auth0’s Custom Email Provider Action. See Send emails from Auth0 with a Custom Email Provider Action.
Next Steps
Verify Your Domain
Set up SPF, DKIM, and DMARC for better deliverability
Email Activity
Monitor your email delivery and engagement
Webhooks
Set up webhooks to track email events in real-time
SMTP Introduction
Learn more about AutoSend SMTP configuration