What is a webhook?
Webhooks are HTTP callbacks that send real-time notifications to your application when specific events occur. Instead of continuously polling the AutoSend API to check for updates, webhooks push data to your application the moment events happen. All AutoSend webhooks use HTTPS and deliver a JSON payload that your application can process immediately.Why use webhooks? Common use cases:
- Automatically remove bounced email addresses from your mailing lists
- Track email engagement in real-time (opens, clicks, unsubscribes)
- Sync contact changes across multiple systems
- Receive incoming emails in your app with the
email.receivedevent and the Inbound Email API - Create alerts in your messaging or incident tools based on event types
- Store all events in your own database for custom reporting and retention
- Trigger workflows when specific events occur (e.g., send a Slack notification when an email bounces)
- Maintain compliance logs for audit purposes
How to set up webhooks
Create a local endpoint to receive requests
Create a new route in your application that accepts POST requests.
When you receive an event, respond with an
HTTP 200 OK status within 10
seconds to confirm successful delivery.Register your webhook endpoint
- Go to Webhooks in the AutoSend sidebar
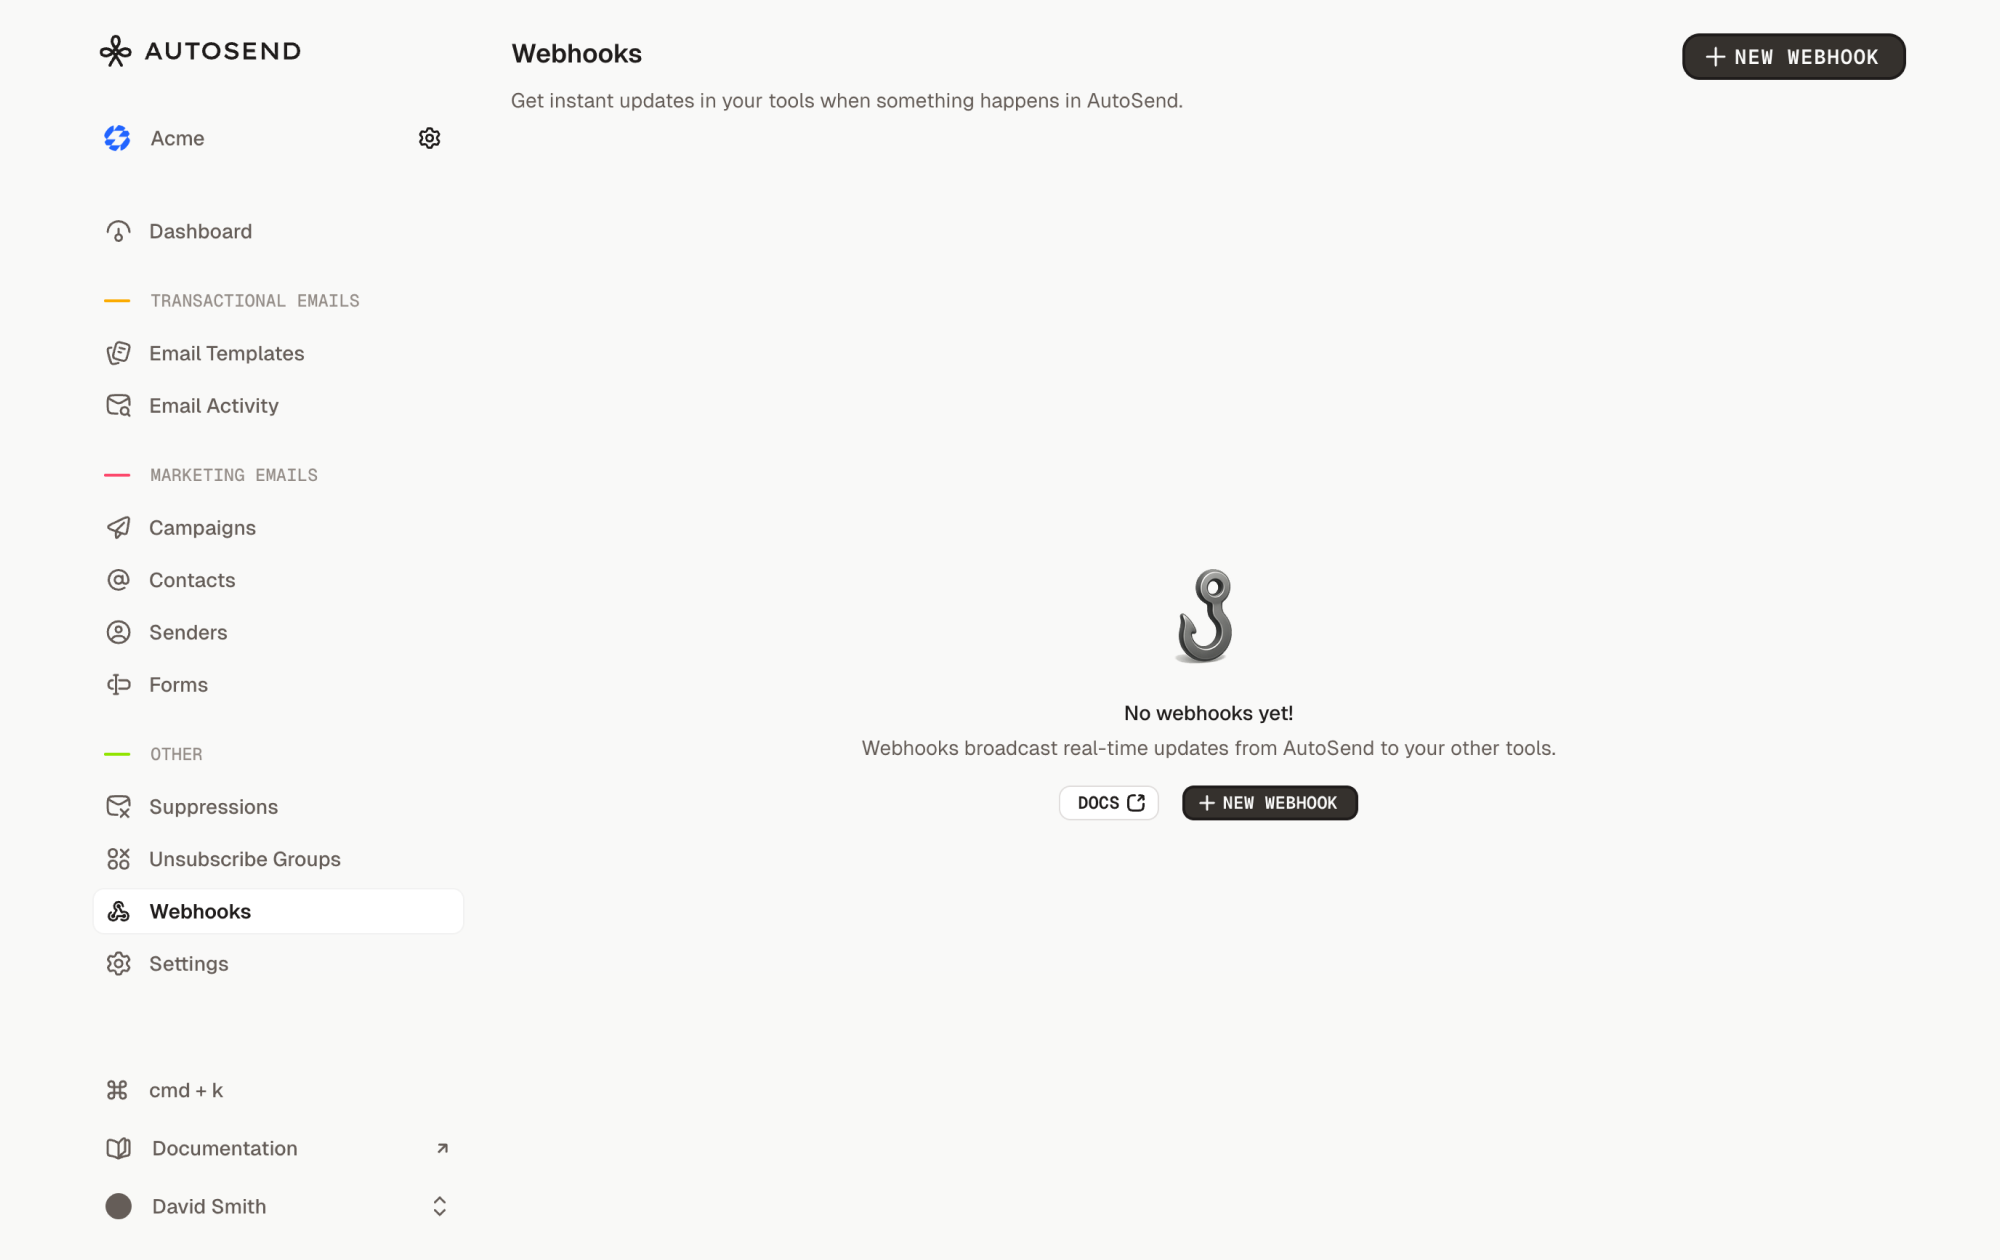
- Click “New Webhook”
- Fill in the webhook details:
- Name: A friendly name for identification (e.g., “Production Email Tracker”)
- Endpoint URL: Your publicly accessible HTTPS URL. For local development, use a tunneling service like ngrok or localtunnel.
- Events: Select the events you want to receive notifications for
- Click “Create Webhook”
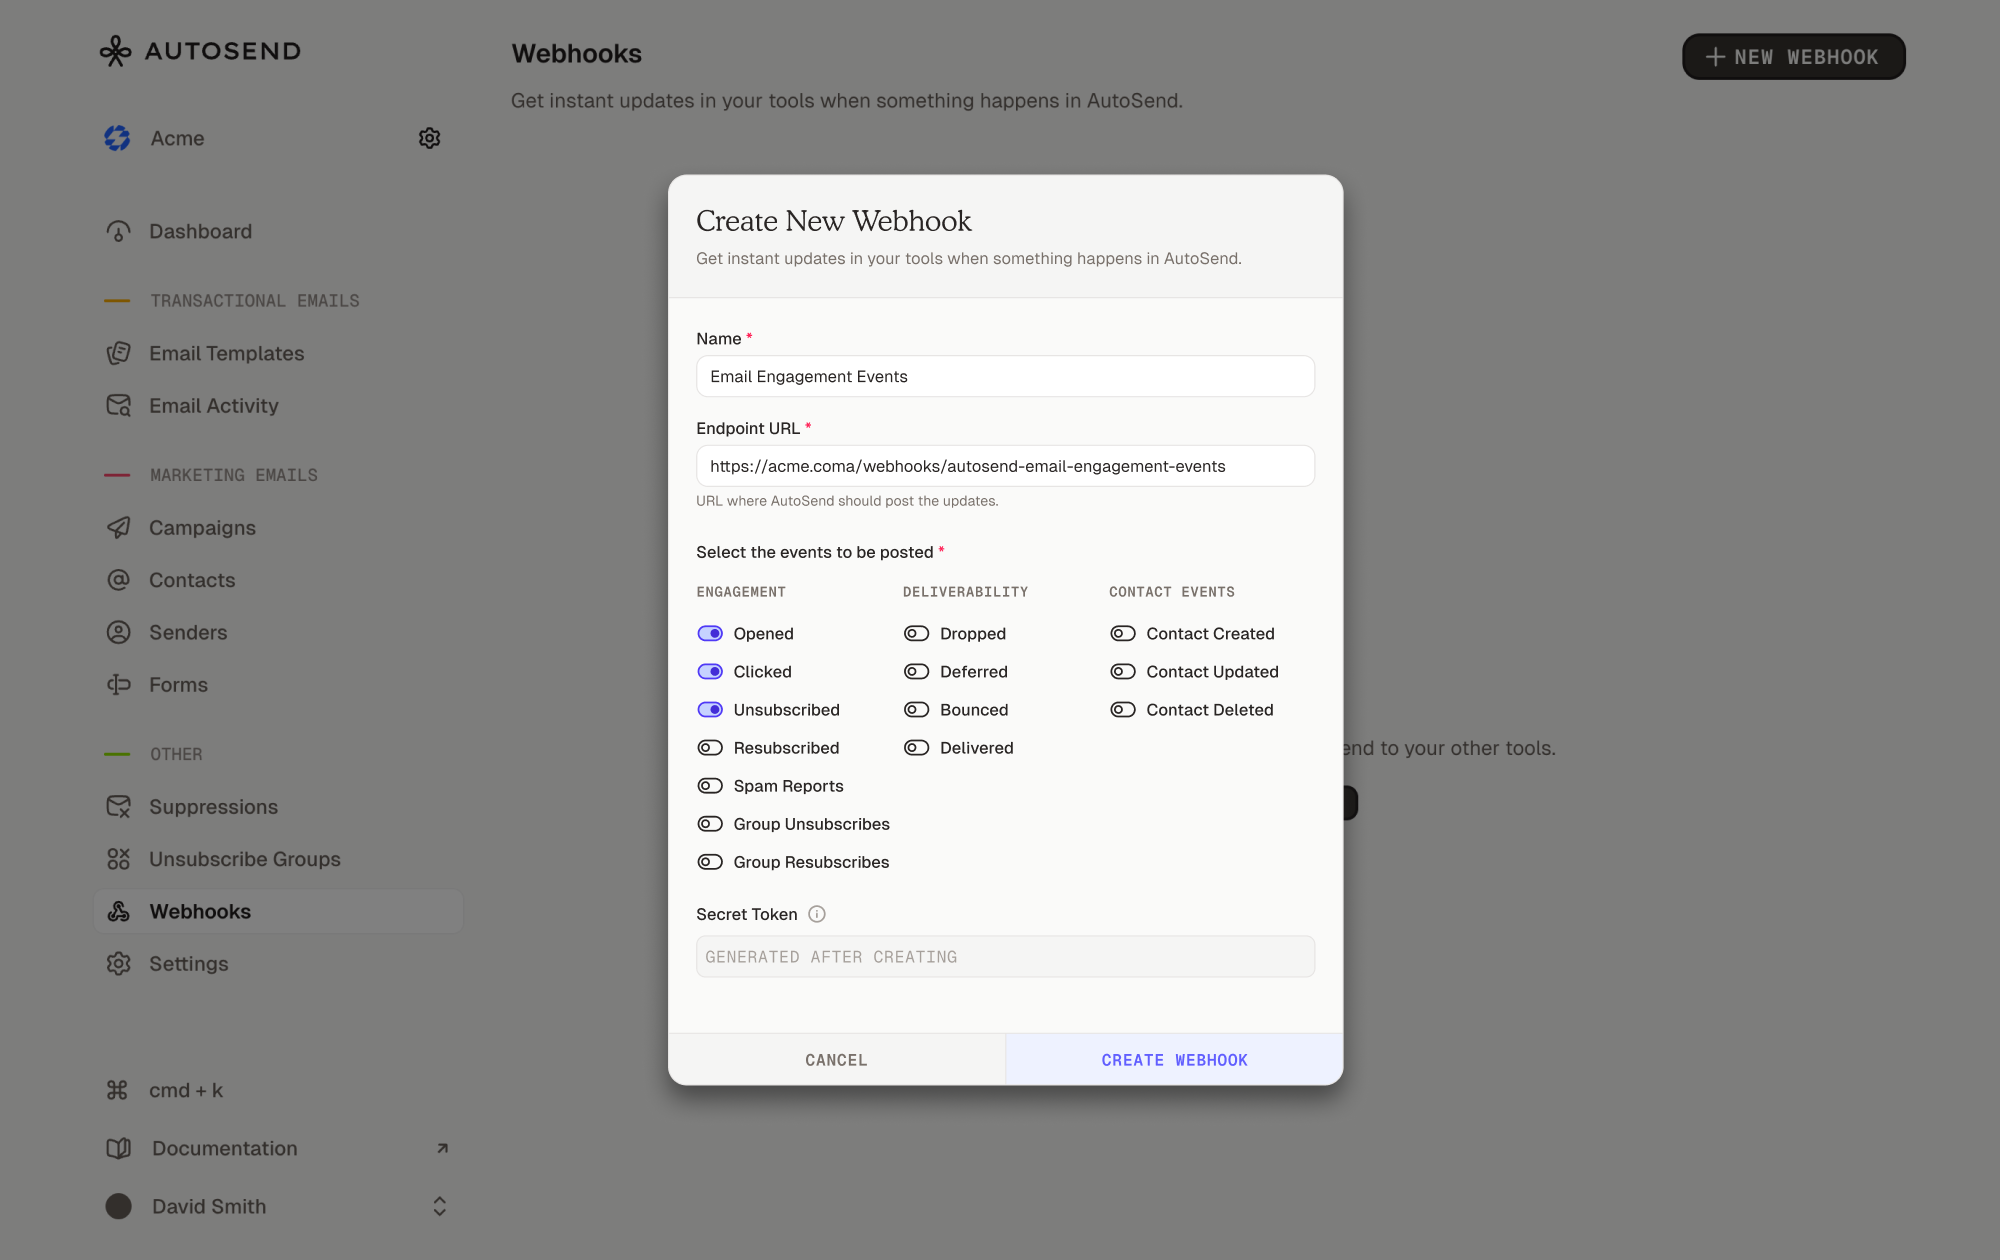
- Copy the secret token and store it securely. You’ll need it to verify webhook requests.
Store your webhook secret as an environment variable
(
WEBHOOK_SECRET=your_secret_here). Never commit it to version control. In
production, use a secret management service like AWS Secrets Manager.Test your webhook
Add logging to your endpoint to verify incoming requests:Trigger test events by performing actions in AutoSend:
- For email events: Send a test campaign or transactional email
- For contact events: Create, update, or delete a test contact
Deploy to production
After testing locally, deploy your webhook endpoint to your production environment (Vercel, Netlify, AWS Lambda, Railway, etc.).Your production endpoint must:
- Use HTTPS (required)
- Respond within 10 seconds
- Implement proper error handling
- Verify webhook signatures
Managing webhooks
From the Webhooks page, you can:- View all webhooks for your project, displayed as cards with webhook details
- Edit webhooks: Click the menu (⋮) on a webhook card and select “Edit”
- Delete webhooks: Click the menu (⋮) and select “Delete”
- Check webhook status: Each card shows whether the webhook is “Enabled” or “Disabled”
- Copy webhook details: The webhook ID and URL are copyable from each card
If you lose your webhook secret, you can reveal it by editing the webhook and
clicking “Reveal Secret”.
Best practices
Respond quickly
Respond quickly
Process webhooks asynchronously so you can respond within 10 seconds:
Always verify signatures
Always verify signatures
Never trust incoming webhook requests without verification. See the Verify Webhook Requests guide for implementation details.
Log everything
Log everything
Maintain detailed logs for debugging:
Monitor webhook health
Monitor webhook health
Track webhook delivery success and failure rates. AutoSend automatically tracks
failureCount, lastSuccessAt, and lastFailedAt for each webhook. See Retries and Replays for monitoring examples.FAQ
What events can I subscribe to?
What events can I subscribe to?
AutoSend supports email engagement events (opened, clicked, bounced, delivered, etc.) and contact events (created, updated, deleted). See the Event Types guide for the complete list.
What is the retry schedule?
What is the retry schedule?
If AutoSend doesn’t receive a 200 response from your webhook endpoint, it automatically retries delivery up to 3 times with exponential backoff (1 min, 5 min, 15 min). See Retries and Replays for details.
Can I have multiple webhooks?
Can I have multiple webhooks?
Yes, you can create up to 100 webhooks per project. Each webhook can subscribe to different events and point to different endpoints.
Can I change the webhook URL?
Can I change the webhook URL?
No, webhook URLs cannot be changed after creation for security reasons. To use a different URL, delete the existing webhook and create a new one.
What happens if my endpoint is down?
What happens if my endpoint is down?
AutoSend retries failed deliveries up to 3 times with exponential backoff. After all retries are exhausted, the delivery is marked as failed. See the Retries and Replays guide for details.
Is there a request timeout?
Is there a request timeout?
Yes, webhook requests have a 10-second timeout. Make sure your endpoint responds within this window.
How do I test webhooks locally?
How do I test webhooks locally?
Use tools like ngrok or localtunnel to expose your local server to the internet. Create a webhook in AutoSend with your tunnel URL, then trigger events by sending emails or managing contacts.
Are webhooks secure?
Are webhooks secure?
Yes, all webhooks are sent over HTTPS and include an HMAC-SHA256 signature for verification. See Verify Webhook Requests for implementation details.
Related resources
Event Types
Complete list of webhook events and payloads
Retries and Replays
Automatic retry logic and best practices
Verify Webhook Requests
Security and signature verification
Webhooks
Manage your webhooks from the AutoSend sidebar
Inbound Email API
Receive incoming emails via the
email.received event and the Inbound Email API