- Trigger an automation the moment something happens (a signup, a purchase, a cart abandon).
- Branch contacts inside an automation based on data from the event itself, not from the contact record.
What is an event?
An event definition belongs to a project and consists of:- An event name (e.g.
order_completed,signup_completed). Names are unique within a project and cannot be renamed once created. - An optional description.
- A property schema: zero or more properties, each with a name and a type. Supported types are
string,number,date, andboolean.
string can optionally declare suggested values, a short list of expected values (e.g. USD, EUR, GBP). Suggested values power the dropdown shown in branch filters and grow automatically as new values are used (see Branching).
Create an event
Open the Events page
From your project dashboard, open the Events page from the left navigation.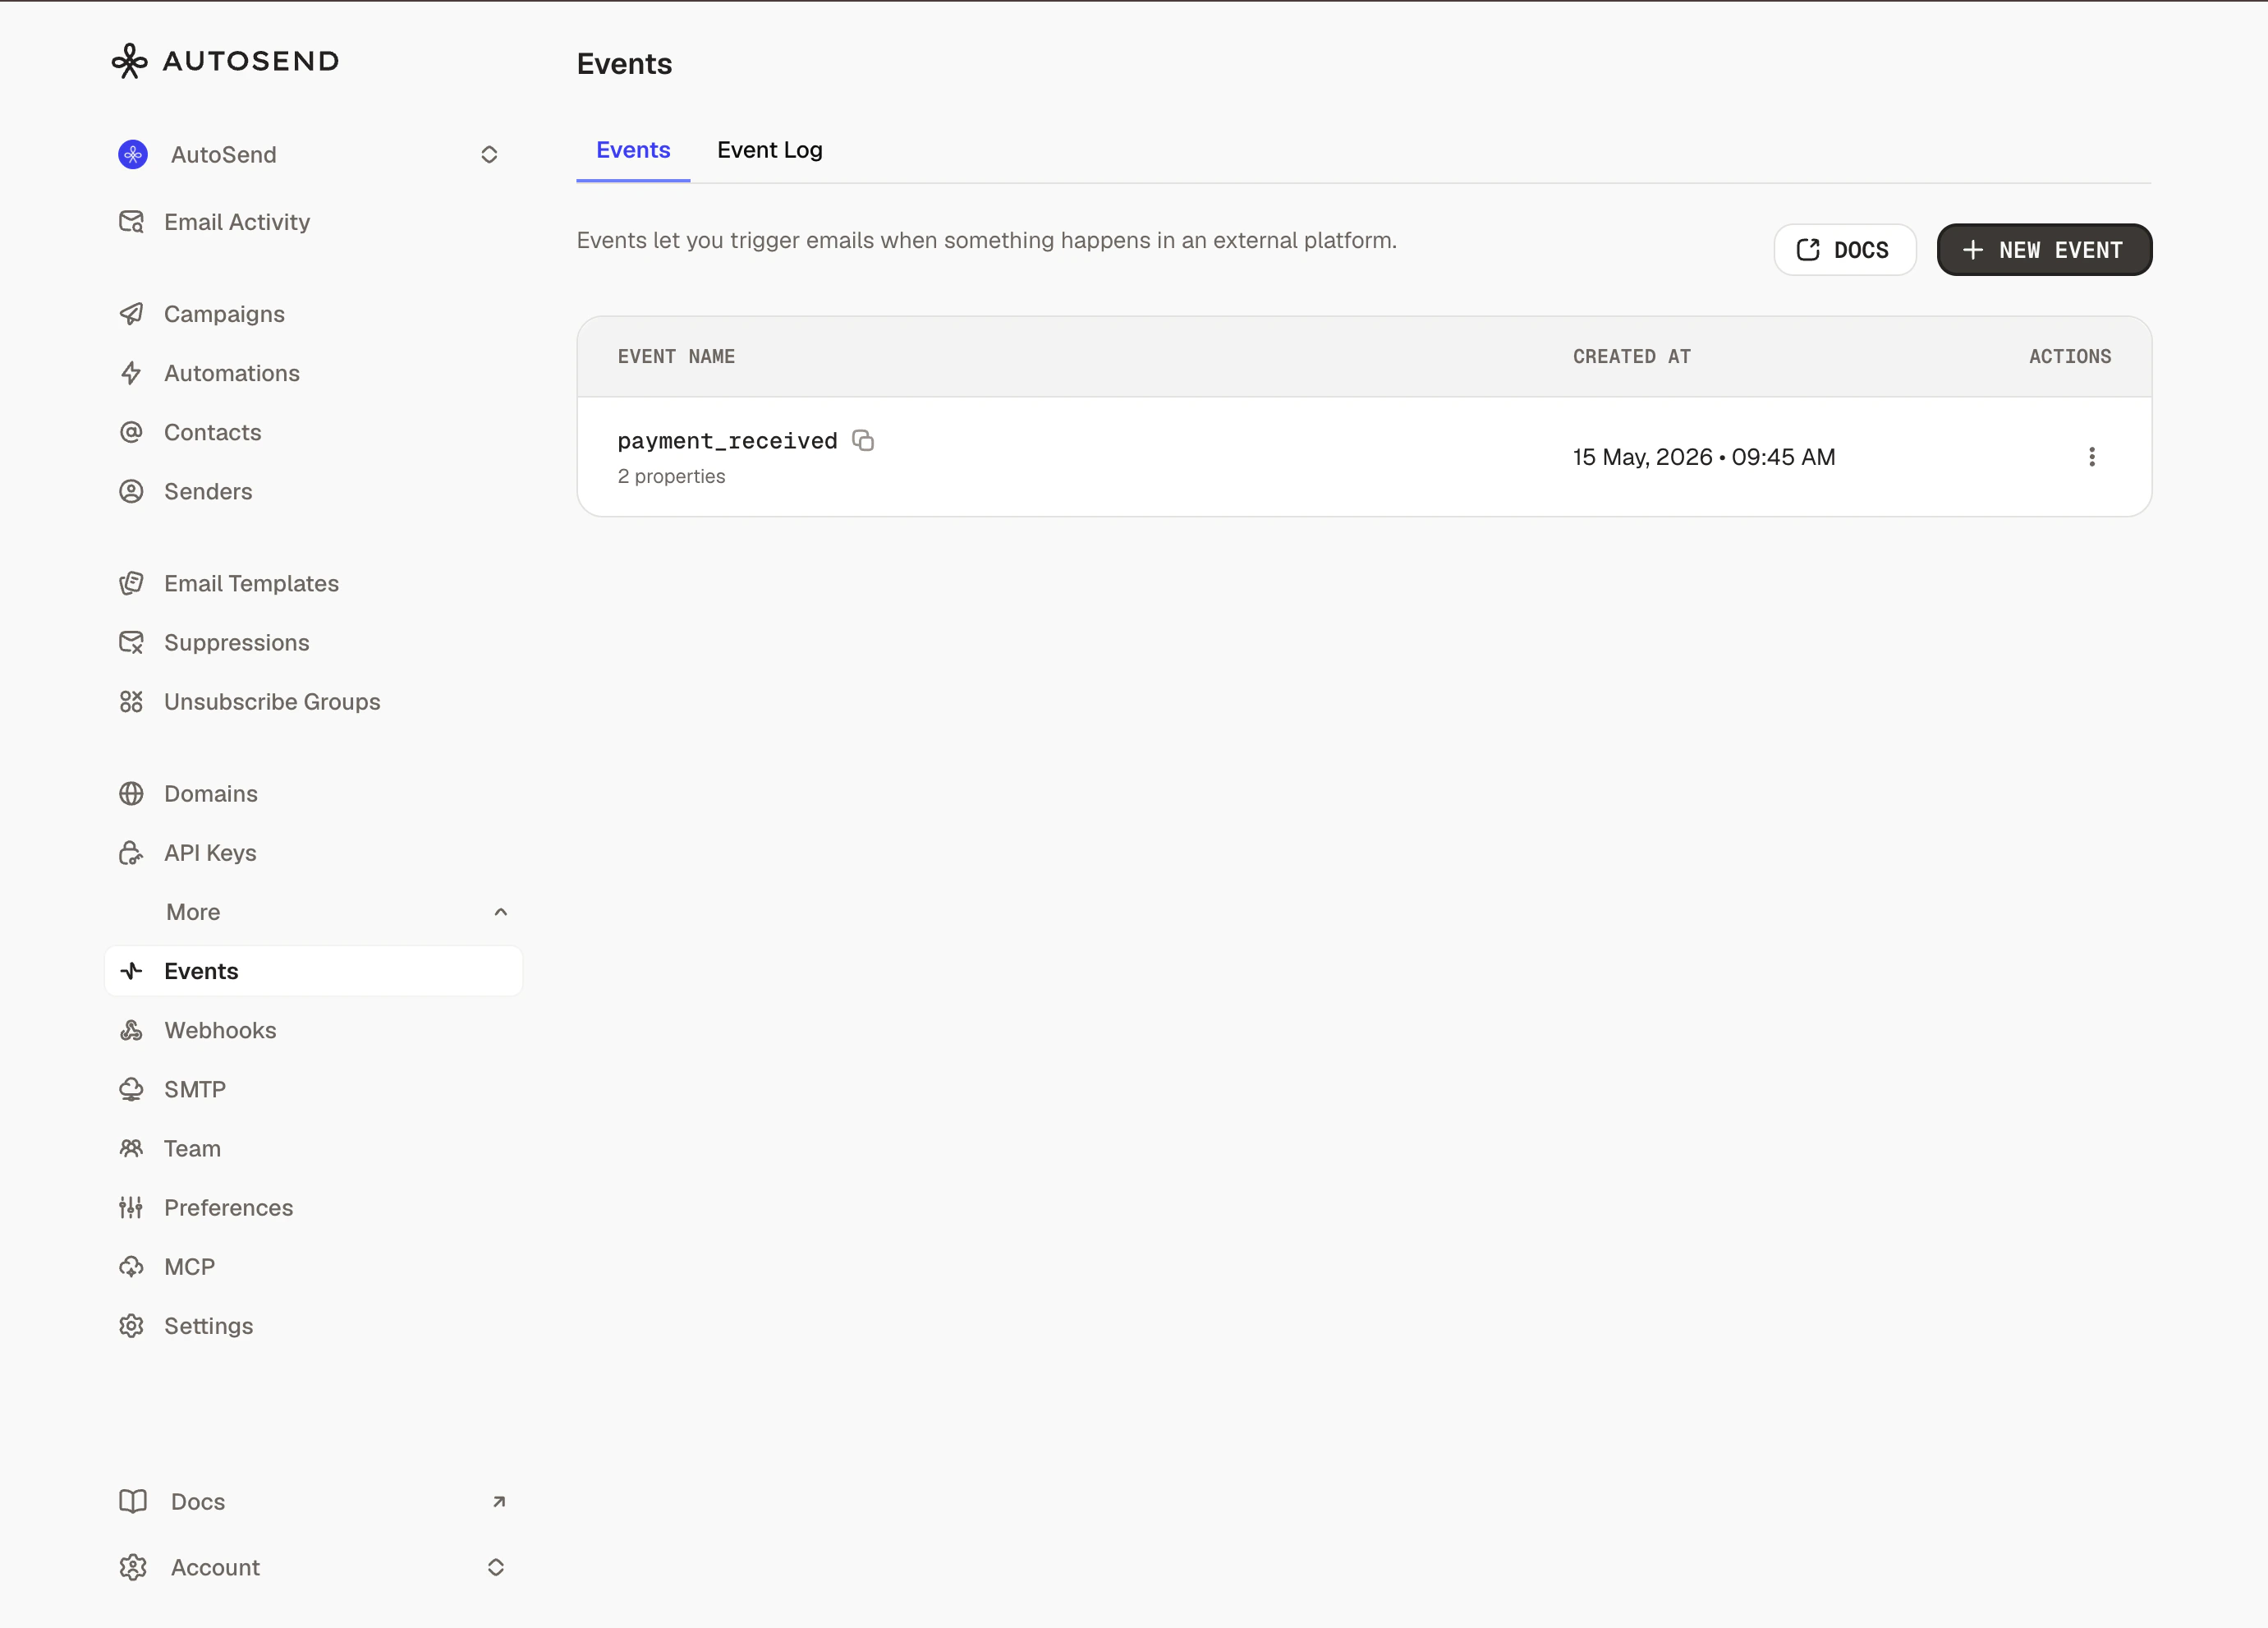
The Events page is part of the marketing feature set. On transactional-only projects, you’ll see an upgrade prompt instead.
Add a new event
Click New Event, then enter an Event Name (e.g. 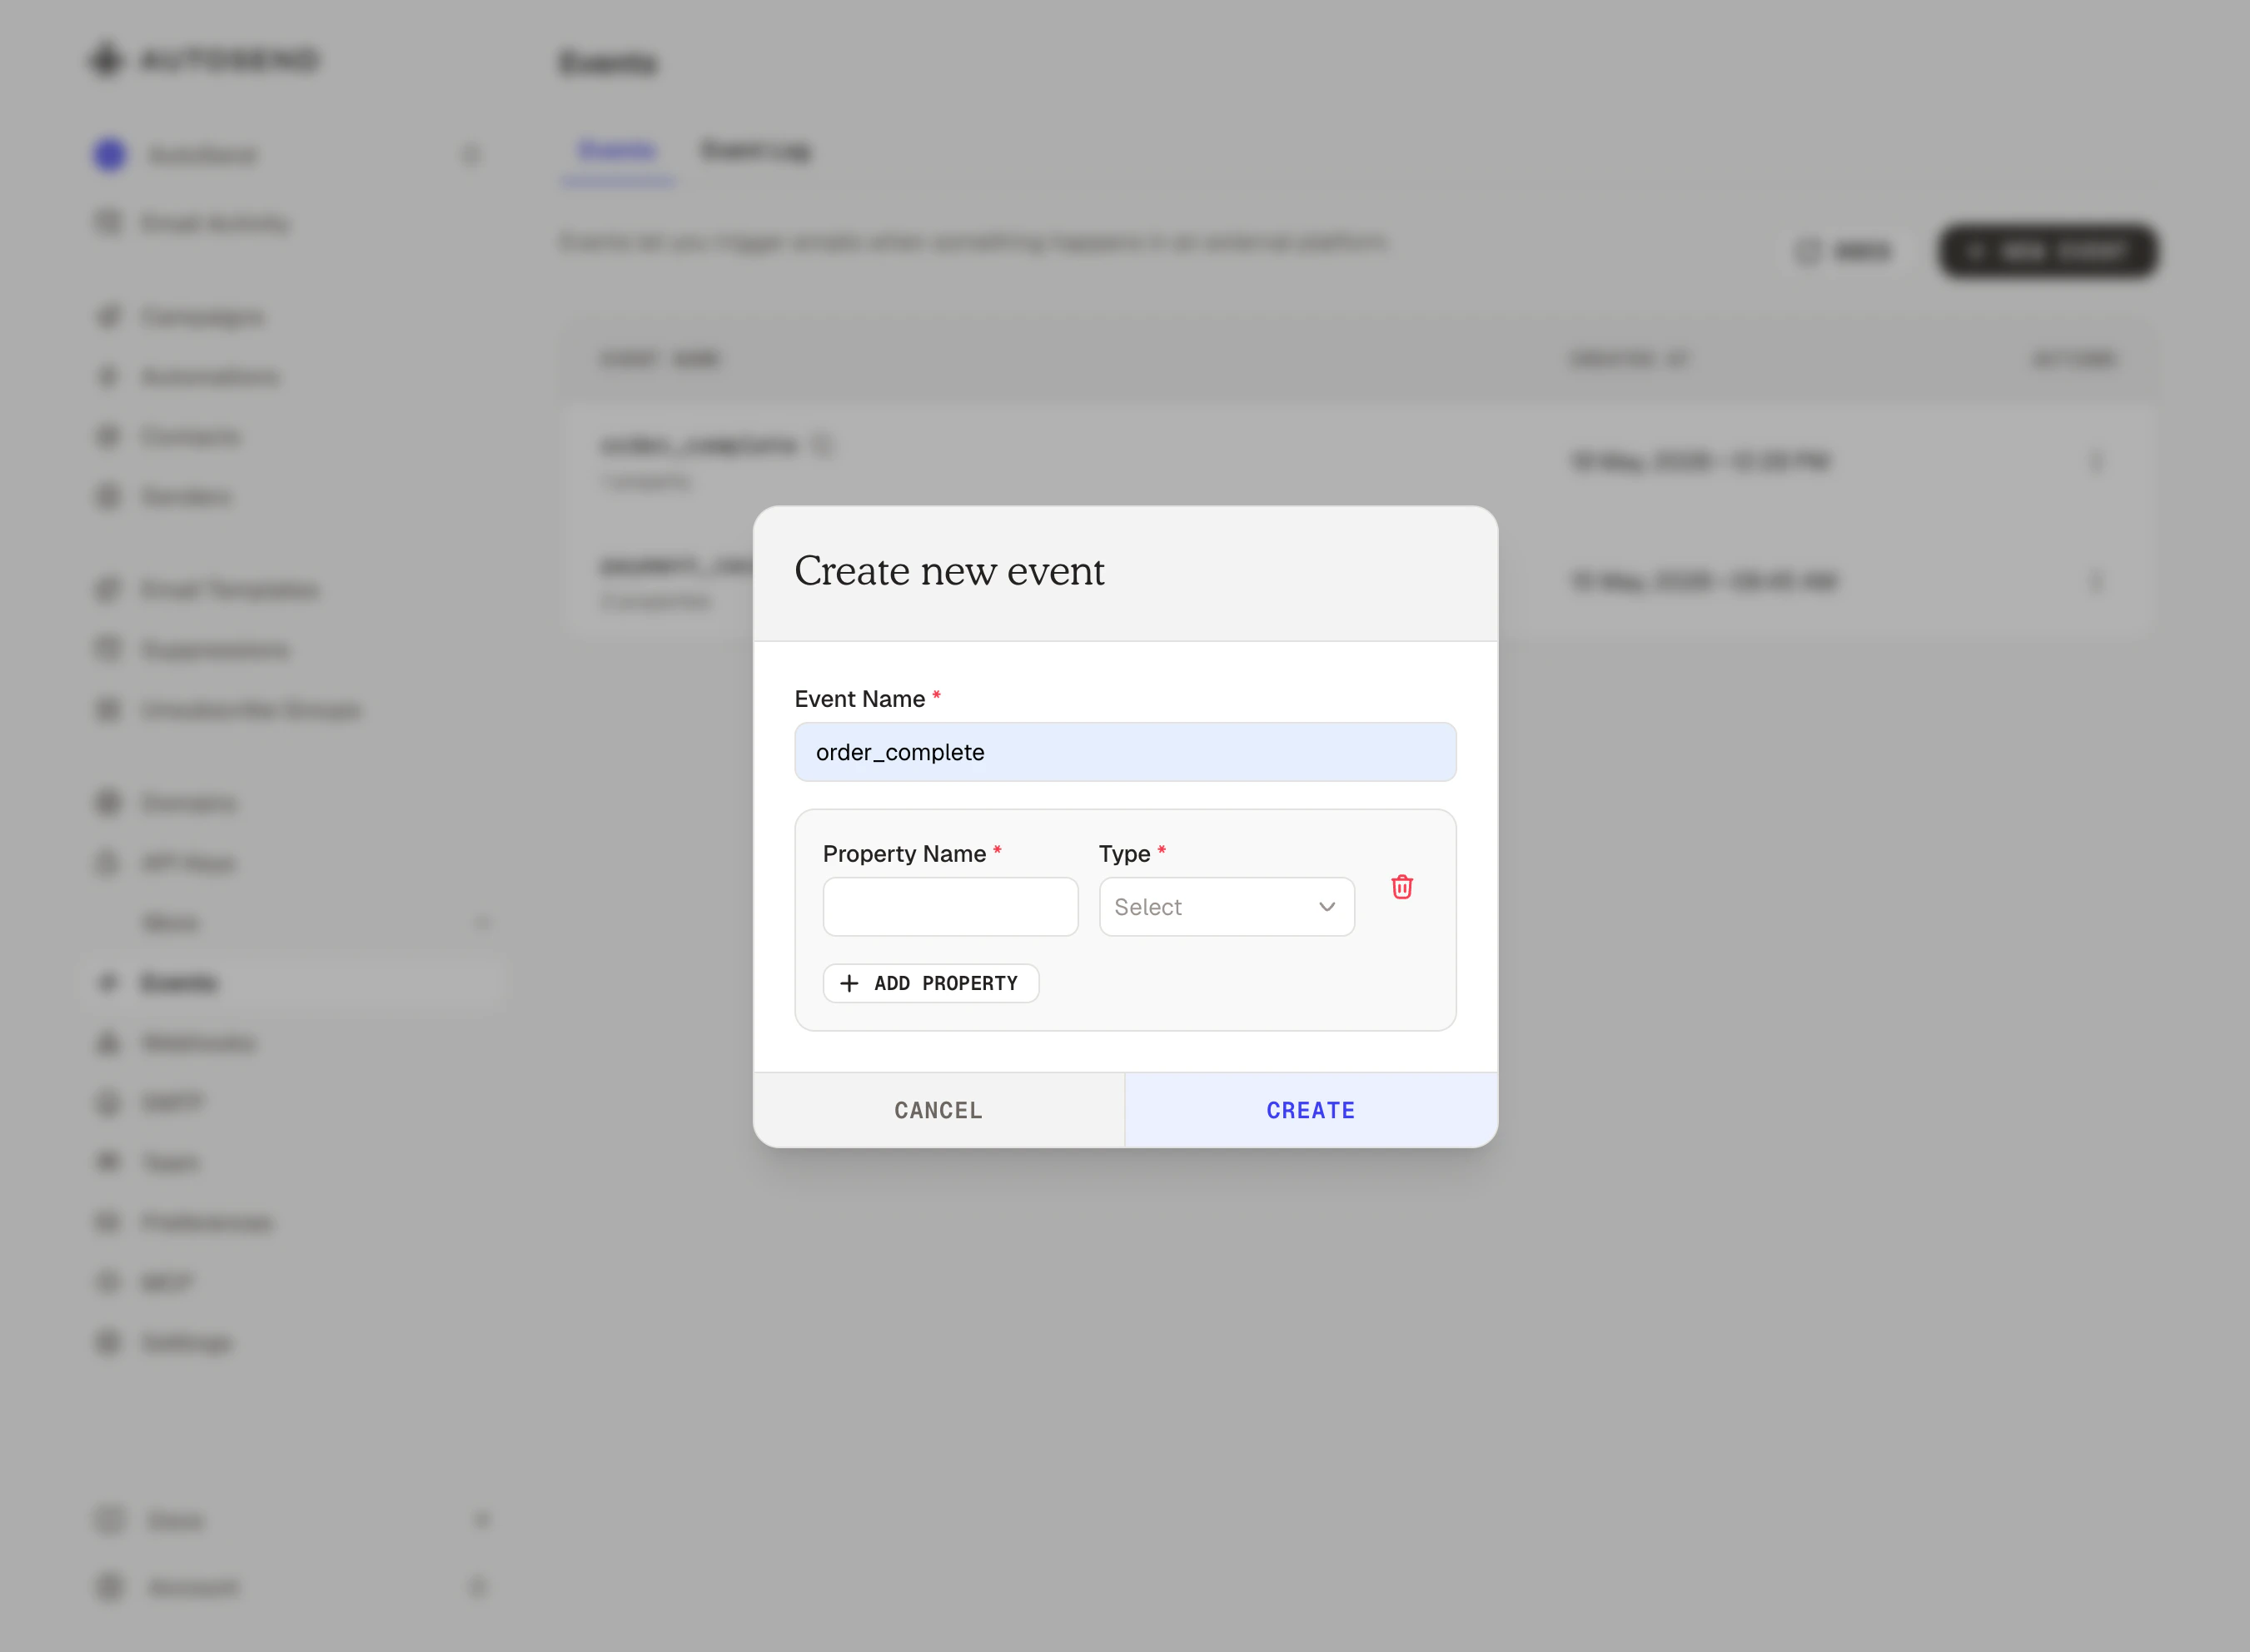
order_completed) and an optional description. Event names should be lowercase and use underscores for readability.Define the property schema
For each property you plan to send with the event, add a row with: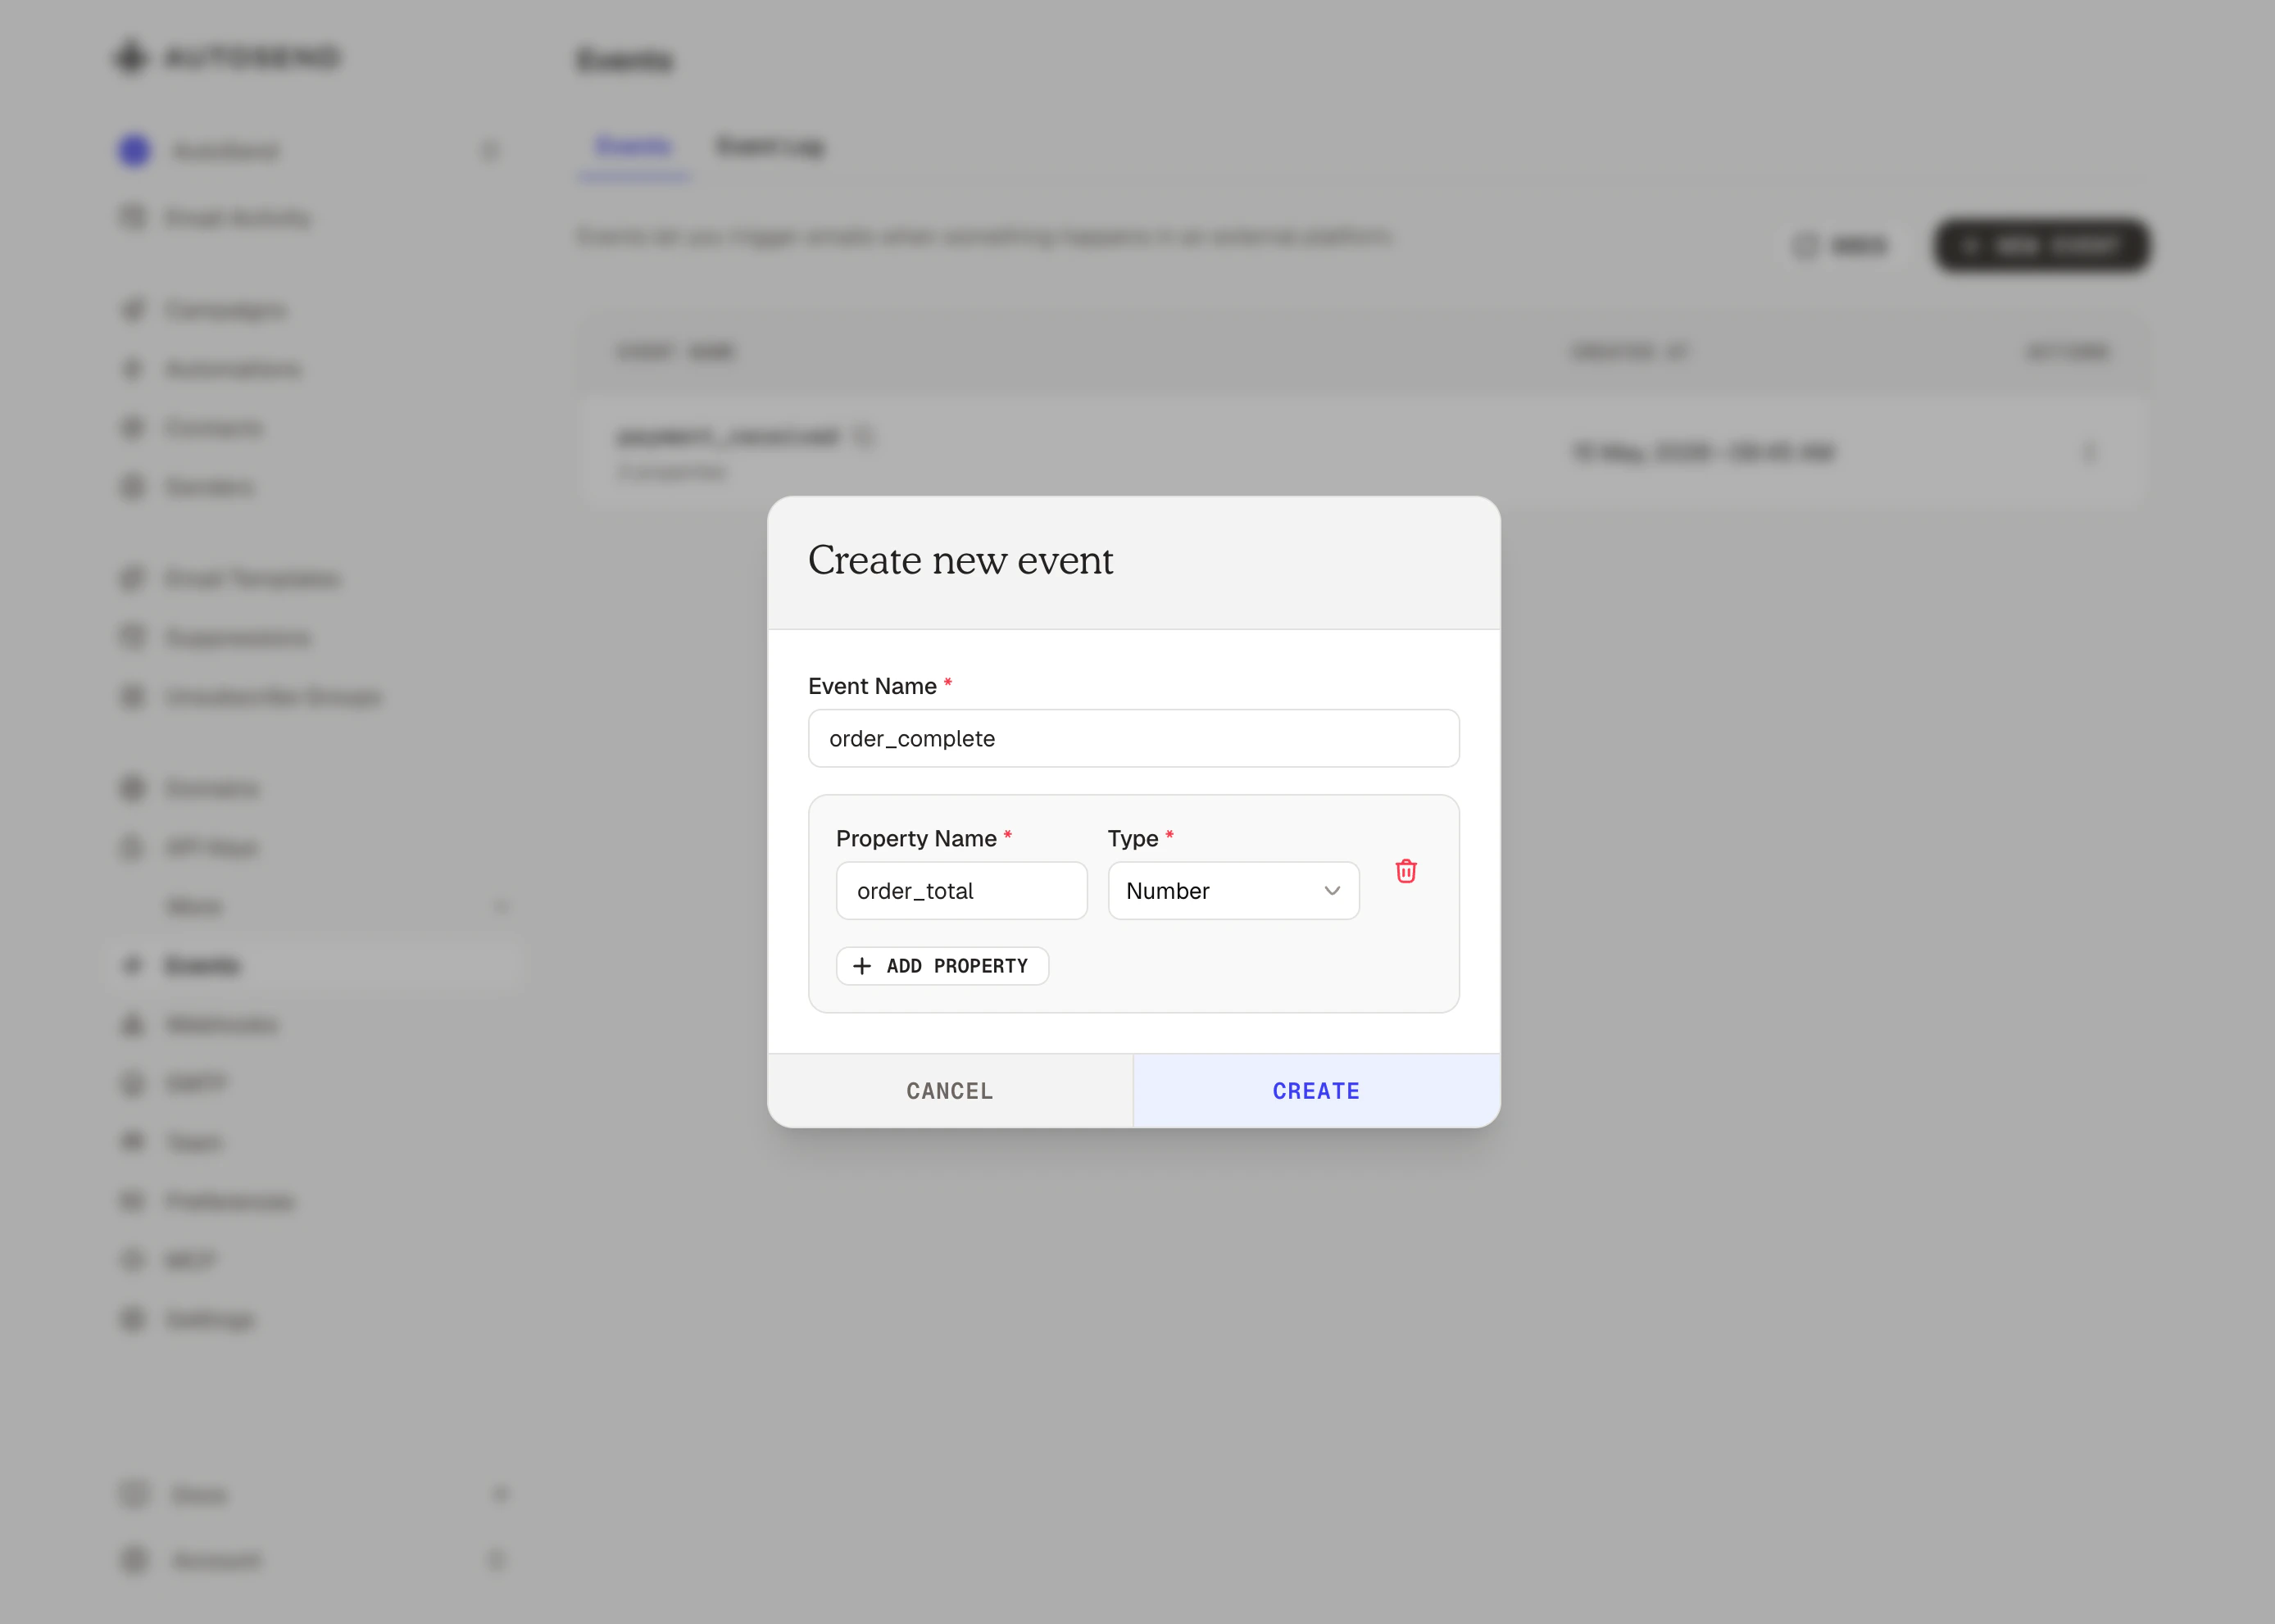
- Property Name (e.g.
order_total,currency,plan). - Type:
string,number,date, orboolean. - Description (optional).
- Suggested values (string properties only): expected values for the property.
Once an event is referenced by an automation, its property names and types are locked to prevent breaking saved branch filters. You can still extend the schema by adding new properties, and you can keep editing suggested values.
Send an event
Once defined, send an event from your backend using the Send Event API. Identify the contact with eitheremail or contactId (one is required), and pass the property values in eventProperties.
You can identify the contact by
email or contactId. Use contactId when you already have
the AutoSend contact ID stored in your application; it skips the email lookup and is the
recommended choice for high-volume event sources.contactId:
Events vs. contact properties
Both can drive automations, but they answer different questions:- Contact properties describe who a contact is right now (
plan,country,verified). They persist on the contact record. Use them when the trigger or branch logic depends on the contact’s current state. - Events describe what just happened, with a payload attached (
order_completedwith anorder_total). They aren’t stored on the contact. Use them when the trigger or branch logic depends on a specific occurrence and the data that came with it.
cart_value).
Use events in automations
Once you’ve defined and started sending an event, you can:- Trigger an automation from an event, so a sequence starts the moment the event is received.
- Branch on event properties, so contacts entering an event-triggered automation are routed by the data carried in the event.